Similar to spritzing water on your stamp after coloring it with watercolor crayon, you need to "reactivate" your Copics if you color with them directly onto your rubber stamps. You will need to use either the Blending Solution or rubbing alcohol to "reactivate" the dried ink... much like "huffing" on your stamp when using Stampin' Up! markers.
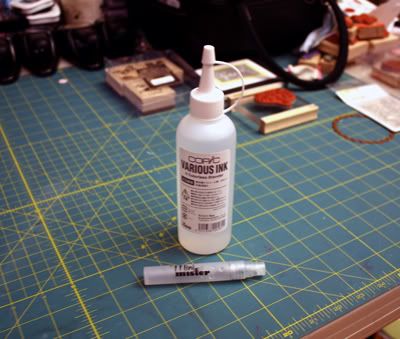
Bottle of blending solution and the mister that I used to fill with the blending solution for spritzing.
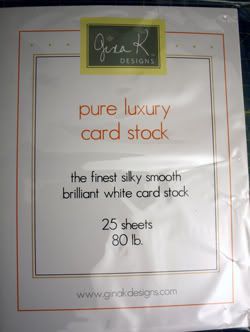
The quality of the paper that you use is so important! It is best to use smooth, thin, cardstock (Neenah Classic Crest, GinaK Pure Luxury 80lb, and SU Whisper White works great for me).
Today, I'm using Pure Luxury 80lb cardstock:
Before I spritz or blend, I have to color my stamp first. I wanted my birds to have 2 tones to them so I first colored my birds in B00 to give them a base color. Then I inked up my acrylic block with B18 and picked up some of the darker blue with my B00 (brush end). I colored the tails first and then worked out in small circles.
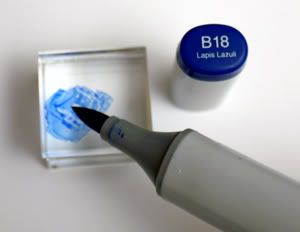
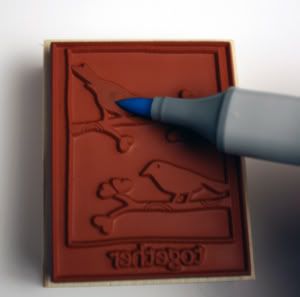
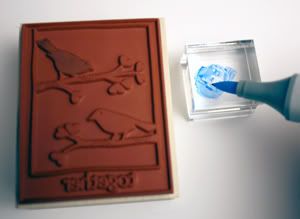
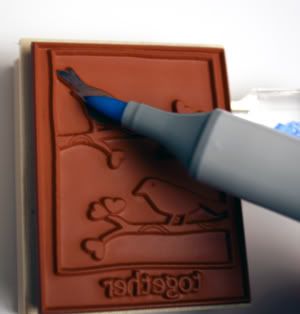
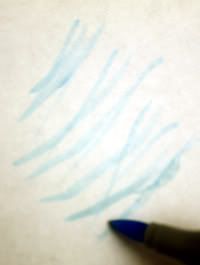
Be sure to swipe the brush gently on a piece of scrap paper to remove the dark color off of your lighter colored brush. Not to worry! This technique of swiping a darker color with your lighter colored marker will not stain or ruin your brush!
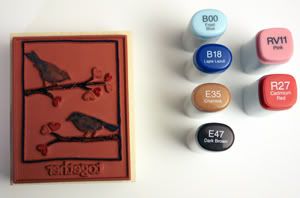
Here what I used to color my stamp:
1) I spritzed directly onto the stamp once and then sprayed off into the air and "caught" the mist several times. I may have soaked the rubber a bit too much but if you don't get a fair amount of blending solution / rubbing alcohol on there, you will end up with your stamp sticking to your paper and a very light or barely visible image.
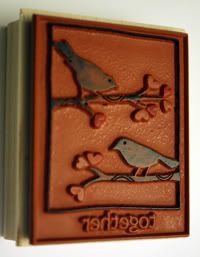
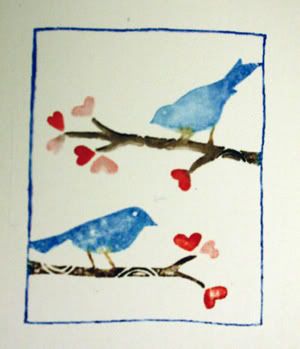
spritzing blender solution directly onto stamp
2) After coloring my stamp again, I took the spritzer and sprayed directly onto my cardstock.
This time, I did use too much blending solution... you can see my image already starting to smear a little. So when you spray onto your cardstock, don't create a puddle!
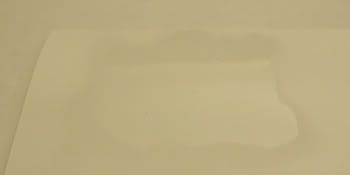
Immediate result...
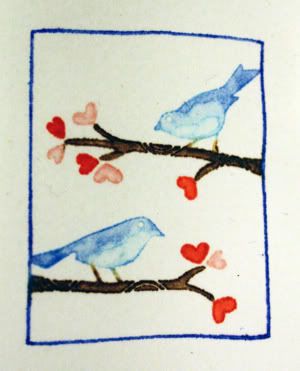
Spritzing blending solution directly onto paper and stamping onto soaked paper
After about a half hour:
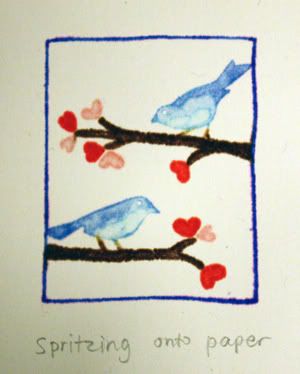
3) After coloring my rubber stamp again to refresh the ink, I took my blender pen and soaked the paper with it. Again, I went over the area a few too many times.
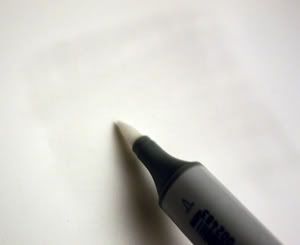
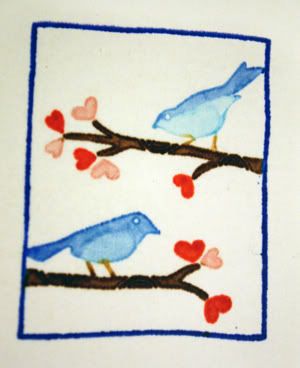
Using blender pen to soak paper (oversoaked) and then stamping on it
So then I decided to go back over a new area on the cardstock with my Blender Pen but using less strokes (just a few layers).
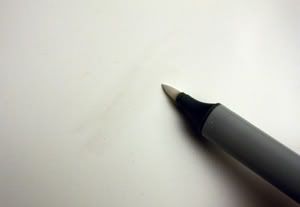
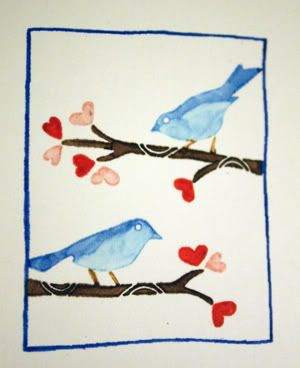
Using blender pen to paper - less swipes
Let me know if you have any questions about any of this!
~ Jane


7 comments:
Very cool effect, Jane. I love your colored image.
Great tutorial Jane!!! Awesome!!!
:-)
Hi Jane! Things are a little hectic around here, but I still lurk around!;)
Those birds came out really neat! Copics give such a cool effect, I really have to get some of those!!
Wow! Great tutorial Jane!
I love all the different effects!
Looks cool Jane...love the different effects!! Hope to see you soon!
This is so cool..i love using the light color copics with the darker ones. I still need to practice more. TFS...
Please, please re-consider playing music with your blog... it slows my down load, interferes with video commentary and is frequently more annoying than pleasant. I know that is harsh - but I wish you knew how many blog hoppers dislike this trend! I have linked you to my google reader- I REALLY like your blog, but if this continues I will find it necessary for my sanity to unsubscribe. Thank you for listening - and keep up your fun artwork and tutorials!
ginny
Post a Comment