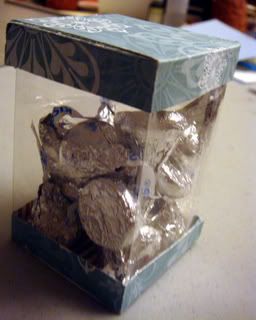
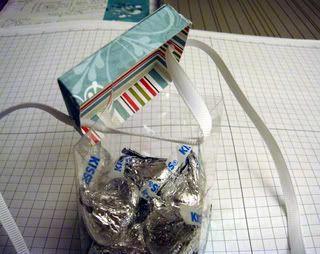
This box is the one that was created by Susie McCormick called "2,4,6,8 Acetate Box".
I didn't want to just take all the hard work she put, into creating her Adobe file, that she had shared with demonstrators at SCS, and post it publicly here. So I have put together a little step by step pictorial for all of you. Thanks, Susie, for sharing the file with us fellow demonstrators!
You will need 2 sheets of your favorite DSP (designer sheet paper) - 2-1/2" x 8-1/2"
With each sheet of DSP, you will score at: 2", 4", 6", 8" along the strip
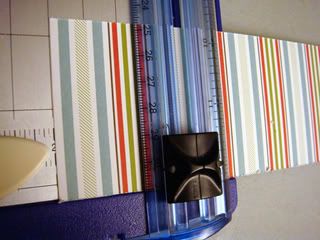
Turn the DSP on its side and score it at a 1/2"
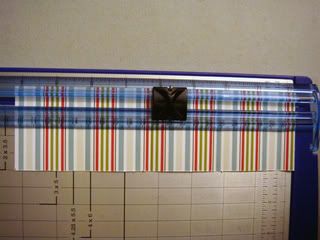
Trim 1/2" off the end but leave the short tab attached up on top
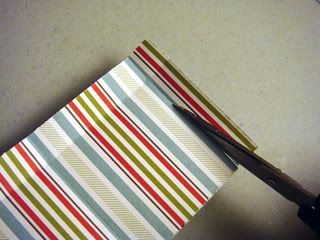
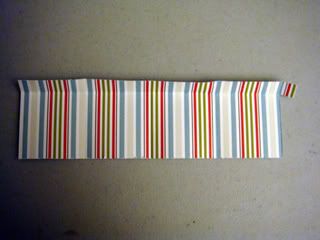
Cut each 2" scored line up to the 1/2" mark
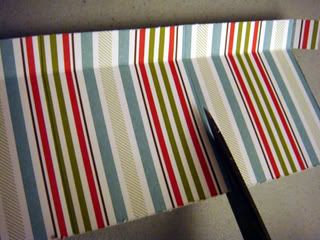
Shuffle the cut slabs until it is a snug fit. I like to lift each one in order and glue each layer down.
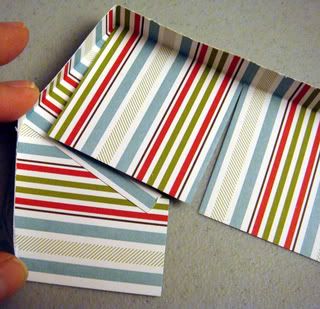
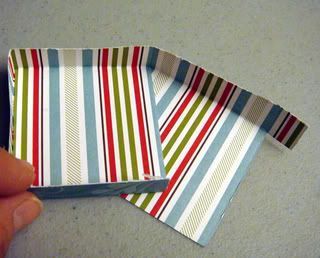
Glue down the tiny tab inside the box.
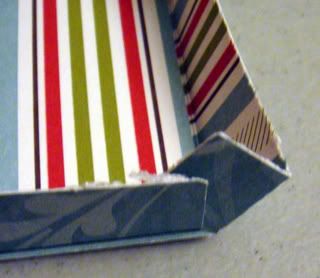
Repeat this with second DSP. You need one for the top of the treat holder and another for the bottom.
Trim your acetate (transparencies) to 3-1/2" x 8-1/4"
Score at 1-15/16" four times across the sheet.
You will have a 1/2" tab left at the end.
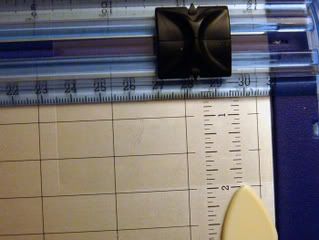
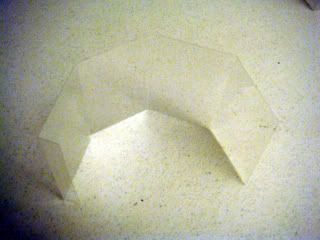
Crease all folds. Add adhesive along the outside of the 1/2" tab.
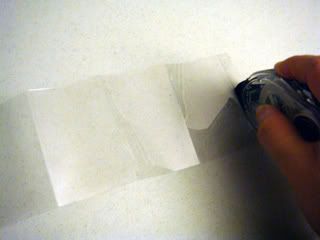
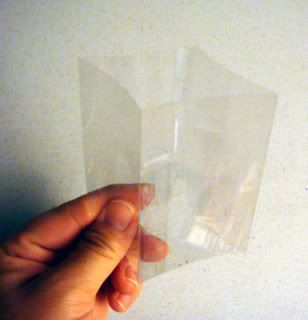
Add adhesive to the "bottom lid" and slip in one side of the acetate box.Press all sides firmly against the sides.
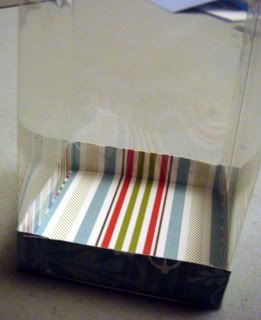
This is what it looks like now with the top lid on and a bit of yummy inside:
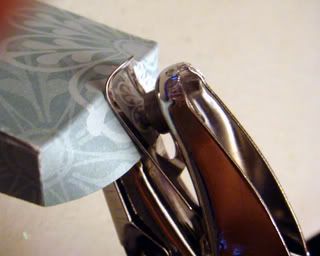
Now for the holes on the side for the ribbons. Find the seam of the acetate. This is the "back" of your box. The 2 holes you will make will go to the sides of this seam. Use your hole punch to get in under the "top" lid. Punch a hole on each side.
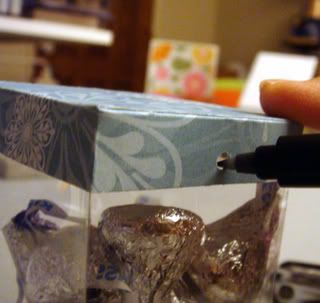
Put the "top" lid back on. Using a small tipped marker, make a mark where your holes are on the acetate. Take the lid off and use the same hole punch to go over the marks you made on each side.
Thread ribbon in through the holes of the acetate first, then out through the holes of the "top" lid. Place the lid back on the box and tie a knot at the end of the ribbon.
I hope you have enjoyed this tutorial and find it easy to use. Please give proper credit to Susie McCormick for the original design of this most adorable treat holder when you pass it on.
Jane
