Here’s an update on how to get it even (more or less) on each side.
Don't forget to leave comments/thoughts! It helps me to know what to work on!!
Here's the link to my original tutorial Scalloped Edges.
* 2/19/08 - How do you do that? A guide to removing the guard off your punches.
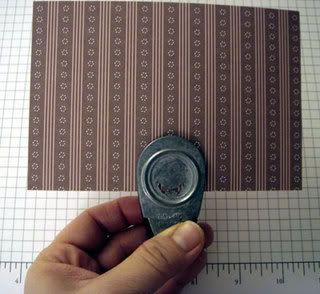
What you want to do is figure out where the center of your project is.

Don't forget to take that guard off of your punch! I am using the Stampin' Up! 3/16" Corner Rounder with the guard removed.
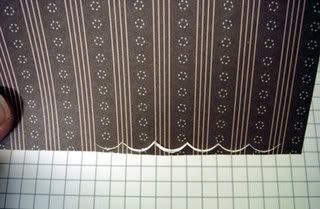
Carefully go across one side of your cardstock or paper.

Take care not to punch all the way through the paper or you will create a "notch" in the paper.
When you are done on one side, go across the other way starting again at the center of your project. When you are done, you should be fairly even on each side.

It gets easier with practice. Believe me... I was doing this at 3 in the morning today and after the 10th time, I had it down just right!
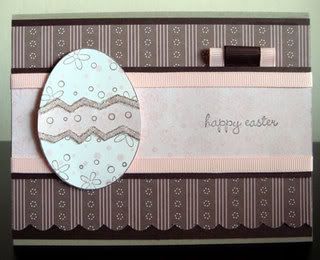
Check out the card I made for the SC161 challenge! I posted it next...


