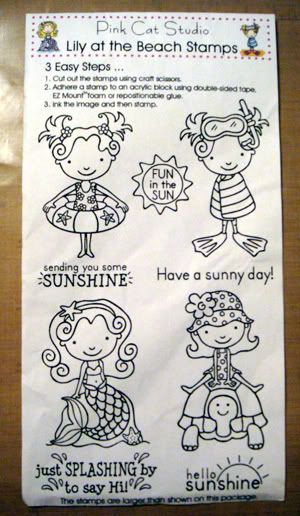
I have been dying to get my hands on their images and now I have a whole set! Woo hoo!!
Thank you, Amy!
Now how about a quick tutorial on how to color with Copics when you have just a few colors to work with...
One of the questions I get asked the most during Copic demonstrations is: "What colors should I buy?"
Well, I always suggest the basic markers that you will need or use often... the "0" Colorless Blender, the "00" or "000" of the color families, skin tones, and hair color. Then you can start looking at the colors that you like in the color families...the Pinks and Reds, Yellows and Oranges, Blues and Greens, Purple, Earth tones, Grays, etc. Just keep in mind that the colors will blend the best if you stay 3-4 digits apart at most with the last number on each marker (ie. R20 and R24). For more information on these fabulous markers, just scroll down the left side of my blog and look under "LABELS" for my posts on "Copics". Hopefully you will find some helpful information in those older posts. Let me know if you need more or have any questions!
For this tutorial, let's just say you have these random colors to pick from:
E00 (skin white), E57 (light walnut), R20 (blush), R24 (prawn), YG63 (pea green), and the Colorless Blender.
Let's start with the turtle. I used YG63 in one layer for the entire turtle.
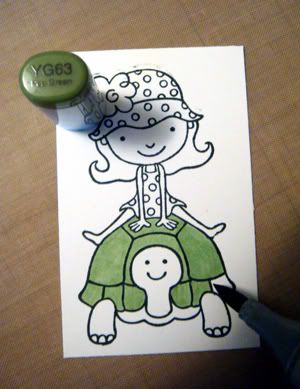
Then I went back over the areas of the turtle where I wanted some shading.
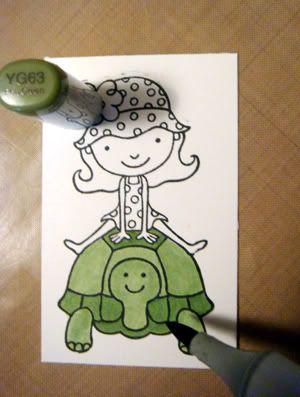
I quickly and thoroughly went over the turtle's head, arms, leg, and tail in small circular motions with the Colorless Blender. Let it dry first before going back again and again because (keep in mind) that this marker is not really a blender but more of a "pusher".
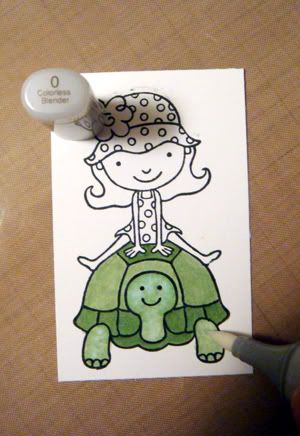
The turtle's shell looked a little "off" so I went over it all with a coat of YG63.
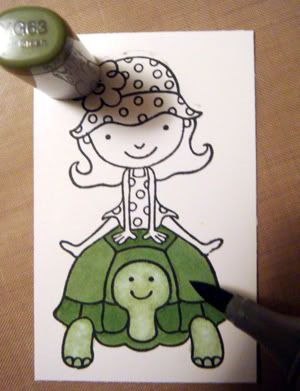
This darkened some of the areas I wanted to sparkle a bit so I went over some of the areas with the Colorless Blender.
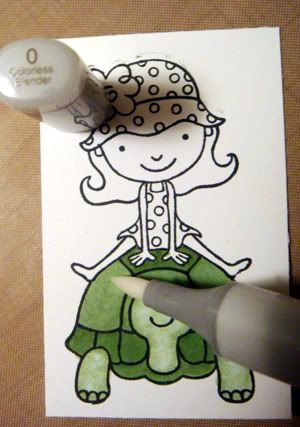
Taking a break from the turtle, I moved up and started working on her outfit with R20. I covered the polka dots as well. I knew I had the R24 marker (which is my 3-4 colors darker than R20 marker) that I wanted to use on her outfit. However, if I used the R24 first and then tried to put the pink polka dots in, it might not show through as nicely. It might have worked with the Colorless Blender. I might have to try that out and post it tomorrow!
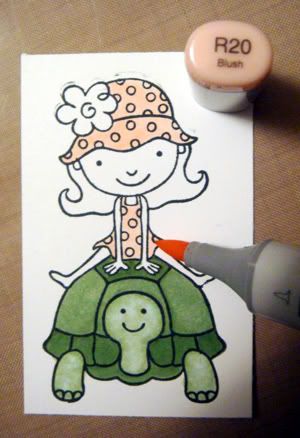
R24 (prawn) was used to add some shadows to the dress.
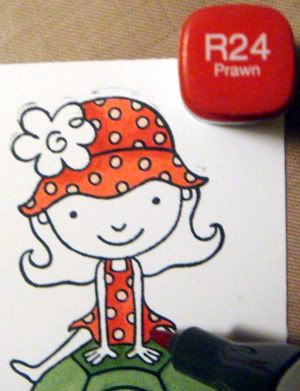
To smooth out the lines, I went back over the outfit with R20.
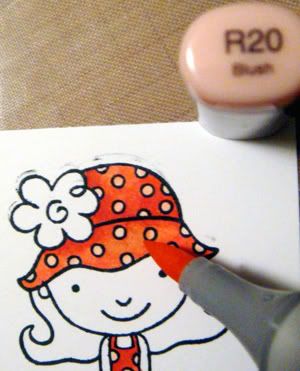
To add more highlights, I used the Colorless blender.
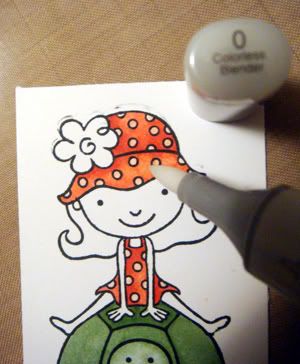
Now for her hair.... E57 (light walnut) was used to color the hair... again using circles and constantly moving the marker. I keep saying mentioning this because my readers ask why they get streaks and how they can avoid them. Honestly, it will all come together with practice. Keep trying. You will see! The ladies in my classes have got it together now! Practice, practice, practice! Keep that marker moving until you get to the end.
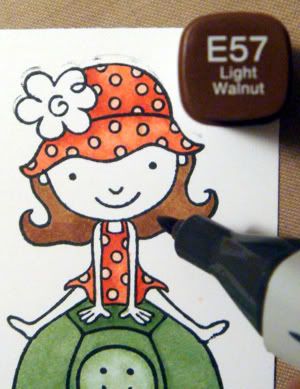
Time for more highlights using the Colorless Blender!
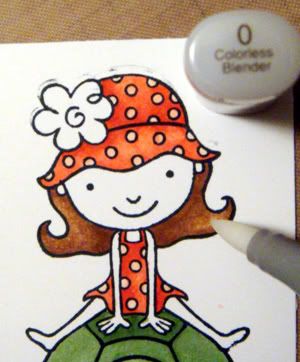
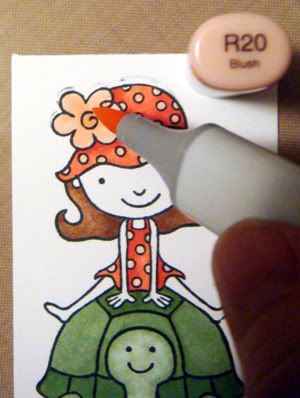
Whoopsie! Can't forget the flower on her hat! I used R20.
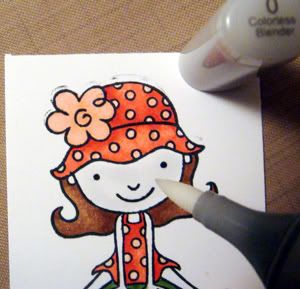
Here, I used the Colorless Blender to "wet" the facial area. This helps make it easier to add a layer of skin color without streaks.
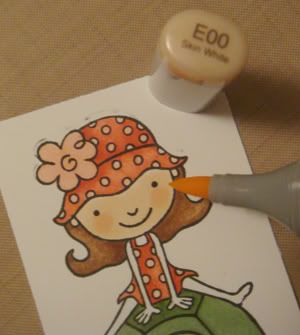
Time for some E00 on her face!
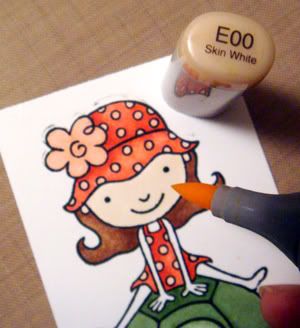
R20 for the cheeks.
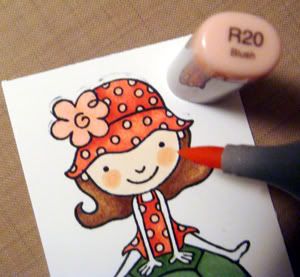
Too much? Use E00 to blend and then use the Colorless Blender... work in large circles. Remember that this blender is a "pusher".
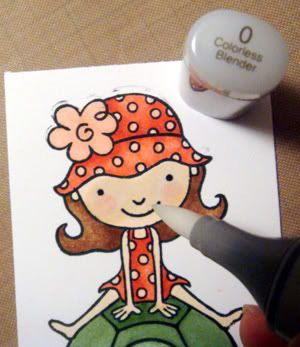
Here's the finished image:
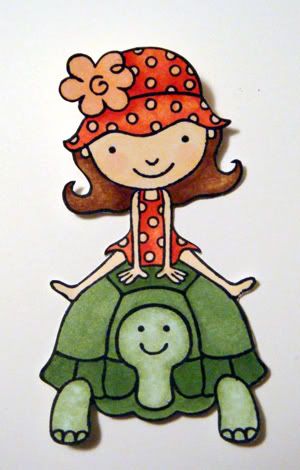
I love this set! Can't wait to ink the rest up!
Come back tomorrow for more projects!

