I did it! I made a reversible purse for Carolina's Treat Purse Challenge on SCS Demo Challenges for 3D Demonstrable Projects!
You can go straight to Carolina's amazing blog, Carolina's Creative Pad for her template and instructions. I took a few pictures for those who need visuals and uploaded them as a tutorial below this post. Please note that I did improvise a little since my hobby blade is nowhere to be found. Please do not ask where it went... I nearly took apart my entire craft room looking for it at 4am and decided to work without it.
ANYWAYS...
There was this swap I had to get out of the house and so I had to focus on that first and foremost. Then I had a workshop. During the workshop, I kept thinking about the darling treat purse template and how stinkin' cute it would be to have a reversible purse.
But how would I be able to pull it off?
Think...
think...
think...
Then the light bulb went on!
Or is it the light bulb went off?
Whatever...
Here it is!!
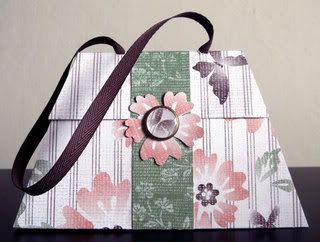
Inside:
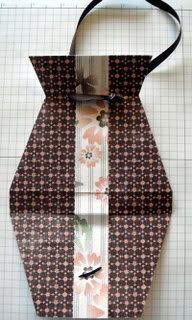
Outside:
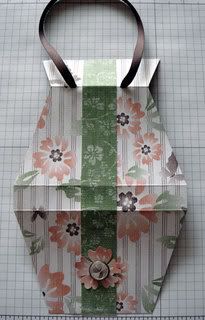
All I have to do is pull the ribbon knot through to the other side, switch the brad (Build-A-Brad tutorial is coming up next!) and punched flower out, and fold the purse the other way...
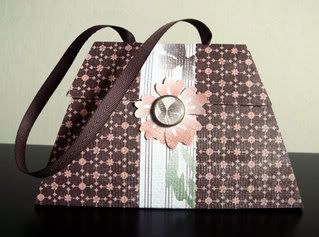
Inside:
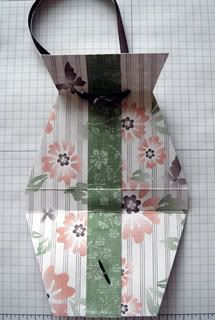
Outside:
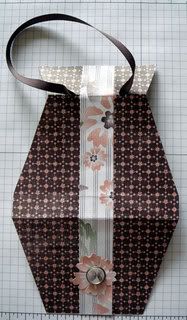
SO... what do you think?
I will be giving it to a dear friend who loves tea. It will have a few of her favorite tea bags and a gift certificate to her favorite tea parlor.
Isn't the Afternoon Tea Designer Series paper yummy? It will be available on March 1st with the Occasions Mini Collections catalog. The ribbon is the Chocolate Poly-Twill Ribbon that will also be in the mini catalog.
Cheers!
Jane
Saturday, February 23, 2008
Carolina's Treat Purse
Carolina's Treat Purse is this week's Demonstrable 3-D Project Demo Challenge over at SCS. It is just the most darling little treat purse! I have big plans for it you know. Go check out the challenge. Carolina has a template and instructions on her blog, Carolina's Creative Pad.
I have pictures for those of you who are like me and need visual help.
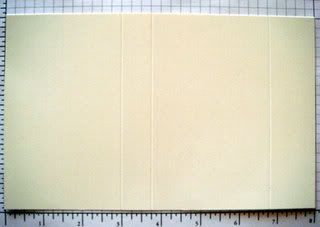
8" x 5" cardstock or Designer Series Paper
Score at 3", 3-3/4", and 6-3/4".
Carolina is on vacation in Disneyland and I had to work with the instructions a bit...
I hope you don't mind my twist on things. I have a hobby blade somewhere, but after about an hour of taking my craft bag apart in search of the thing, I decided to improvise...
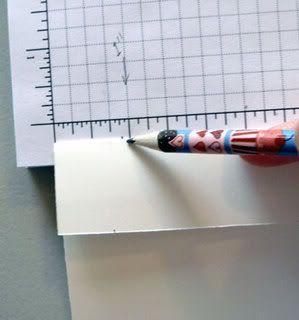
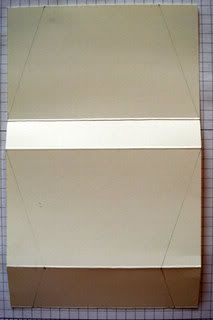
Fold the short end of the cardstock / DSP and mark the folded side on each end, measured in at 1".
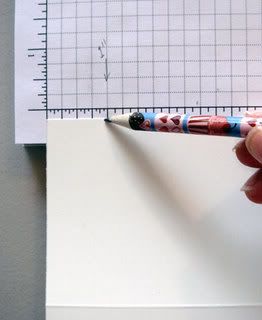
Mark large end of the cardstock / DSP, measured in at 1" on each side.
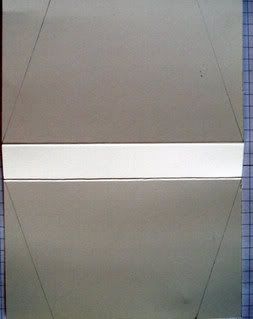
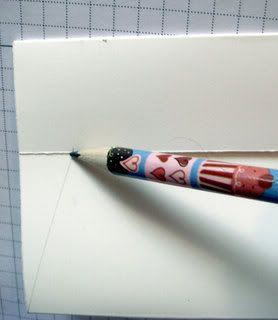
Using a straight edge and a pencil, connect the scored ends to the marks you just made.
Fold everything up and fold the flap over. Mark where the flap meets the sides of the purse.
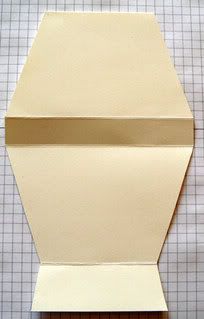
Using a straight edge and a pencil, draw the final lines from the sides of the purse to the marked ends of the flap.
Cut out along the lines with a pair of scissors.
Decorate as you please!
Thank you, Carolina, for sharing this adorable treat purse with everyone!
Subscribe to:
Posts (Atom)