Let me know if you have any questions! - whoopsie.daisy{at}sbcglobal.net
If you have been following my past several posts, you have seen me play around with the Tart & Tangy stamp set and the Waterfall cards. I thought it would be fun to teach my Hostess Club ladies next weekend how to make their own Scratch-n-Sniff and use this fun stamp set. Well, y'all get to try it today for "Try This, Tuesday - Technique Challenge". Please post here with a link to your blog, gallery, online photosite, if you do participate in the challenge.
Inks: Only Orange, Pumpkin Pie (rock and roll technique)
Stamp: Tart & Tangy
Punch: 1-1/4" circle punch
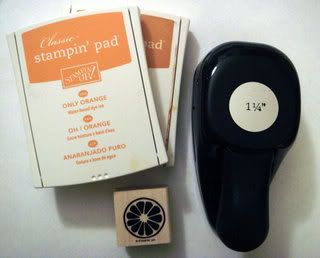
Punched image, VersaMark pen, Glassy Glaze Enamel, Sugar-Free Jell-O, small container to hold mix, spoon, tweezer, heating tool.
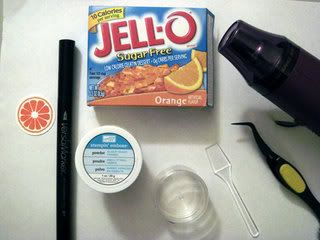
Mix 1-1/2 parts Glassy Glaze Enamel and 1 part Sugar-Free Jell-O.
It must be Sugar-FREE! Otherwise, the sugar will burn when you use the heat gun. Having more Glassy Glaze Enamel will be better than not having enough.
Use the VersaMark pen to color in where you want the powder to stick:
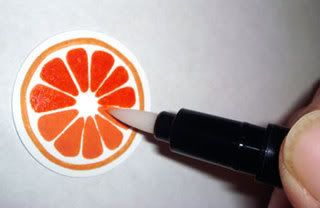
Carefully cover image with powder mixture.
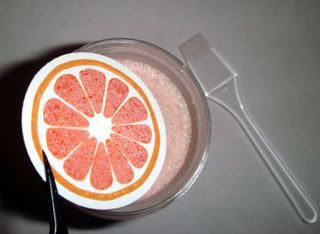
Allow the heat gun to warm up a bit (run it for a few seconds). It helps speed up the process. Hold your image a few inches away from the heat gun and allow the powder to start melting. I like to heat from behind (or underneath) the image. I find that heating from in front or above the image tends to blow the powder off the image before it has a chance to melt. Take it slow or the powder or card stock can burn.
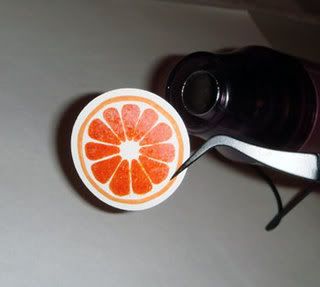
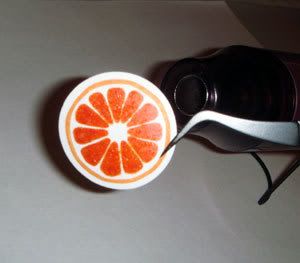
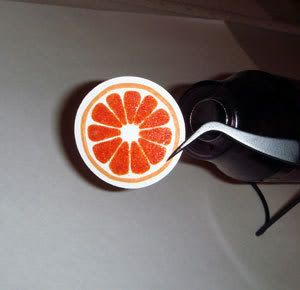
The end result will be a scratchy sandpaper-like surface. If you prefer a shinier surface, then add more Glassy Glaze Enamel to your mixture. Just play around with it until you get the results you like. You will need to scratch it in order to release the scent.
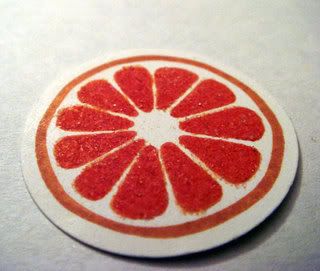
Now give it a try!
Use other scents and let me know how it goes!
I would love to create a list of different scents used and link to your sites.
Cheers!
Jane
