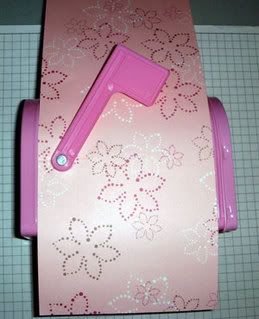
Step 1: Cut a Designer Series Paper (Berry Bliss #110749 - page 169)) 4" x 12". It fits right in between the raised grooves of the mailbox.

Step 2: Hold one end of the paper at the bottom half of the mailbox and bring it up along the side.

Step 3: Carefully pinch the area around the base of the flag so that you create an imprint of the circle that is at the base.

Step 4: Take the paper off of the mailbox and set it down on the table. Take a 1/2" Circle punch (#104390 - page 180) and punch out the impression you made.

Step 5: Take your Paper Snips (#103579 - page 184) and cut a slit from the bottom of the paper to the punched circle.

Step 6: Turn the paper over and adhere Sticky Strip tape (#104294 - page 186) to all four sides of the paper.

Step 7: Peel and cut off about 2" of Sticky Strip tape from around the punched circle.

Step 8: Carefully slide it under the base of the flag. Tug and pull until it fits snugly around the base.

Step 9: Pull up one end of the paper and peel the red protective tape off. Carefully adhere the paper to the mailbox.

Step 10: Turn the mailbox over to the other side and pull up the paper. Peel off the red protective tape and carefully adhere the paper to the mailbox.

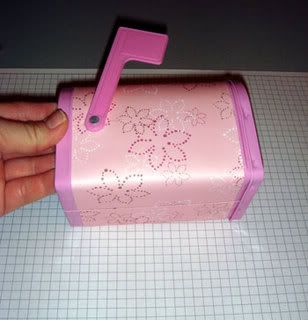
Step 11: When you are done, you should have a mailbox that look like this:


Step 12: Remove the front lid of the mailbox. On a different coordinating patten of Designer Series Paper, trace the lid on the paper. Cut the traced lids. It will help to trim the lids inside the lines (opposed to outside the lines). Using the Tombo Multi Purpose Adhesive (#110755 - page 186) glue the paper down to the lids. Be sure to put the glue on the backs of the paper you want to use!

Step 13: Run Sticky Strip tape along the sides of the lids.

Step 14: As you peel off the red protective tape, begin to adhere the ribbon .

Step 15: If the sides of the paper are a bit off the lids, use Sanding Blocks (#103301 - page 184) to sand down the edges.

Finished mailbox:

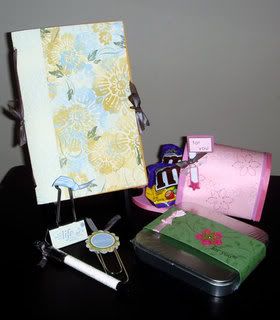
What I made for my little sister:


