A couple of emails sounded frustrated and I can relate! It is a colorless marker that is called a "Blender" and it doesn't really do what we think it is "supposed" to do. A blender pen is supposed to blend, right?
What I have learned is that the Copic Colorless "0" Blender Marker is a "pusher" (Marianne called these markers that in class and I have been using it ever since). If you play around with the Blender Marker, you will see that instead of truly blending your colors together, it merely pushes the color in the direction you are using the marker. It also lightens the area that you are working in and thus the color fades as you go. The blending really comes as part of the package as you push the color and it lightens and fades.
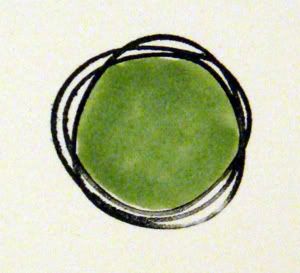
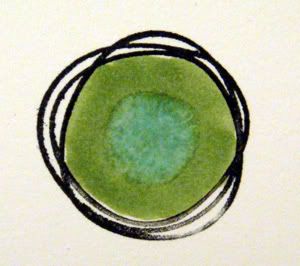
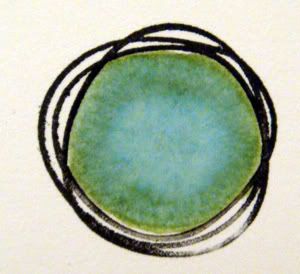
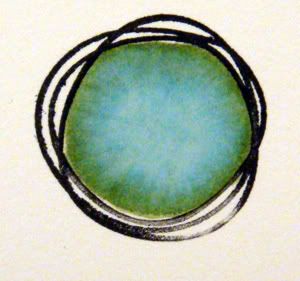

This sample and the next were done on Papertrey Ink white cardstock that Rachel and Lorie kindly sent to me. Thank you, ladies!! The paper is amazing!
Now, take a look at the back of the last sample I just did... it shows off the quality of the cardstock. I put on at least 12 layers of colorless blender inside that circle and the ring of color still held strong.
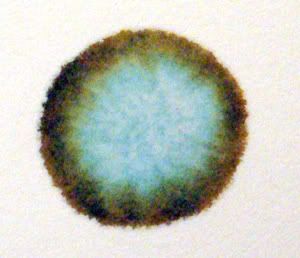
One of the questions that I received was "Why doesn't my coloring look as smooth? It has lines and splotches!"
I think that some splotches and lines are natural and depending on the "look" that you are going for, it actually may be desirable! I also think we are our own worst critic. ;)
You can try "wetting" your image by using a juicy Blending Marker first before laying down the color. If you are in my class, you will hear me say "Keep that marker moving!" If you stop, the ink will dry and when you pick up where you left off, you will see a slight streak. You want to work in circles and keep that marker moving so that the area stays wet as you go. If you go over it first with the Blender Marker, you are essentially "wetting" the area first so that it will give you a smoother finish. You have to work quickly before the area dries. This technique is especially terrific for coloring very large areas where streaks would be obvious. (pictures are coming)
My other answer is "Practice!" I know it sounds silly to hear, but in the end, it's about knowing your product. The more you play around with your markers, the better you will know how it reacts with your paper and ink and your "touch".
Moving on...
Colorless Blender Markers are terrific for touching up little mistakes, such as coloring outside the line. When you do this, be aware that you are pushing the color in front of the marker so go in the direction of the line but stop just before you get to the stamped line. Otherwise, you will get a build up of color on the other side that you may not want.

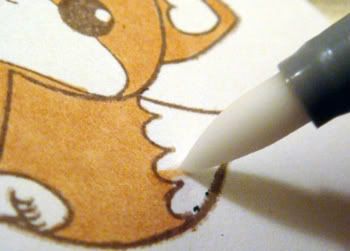
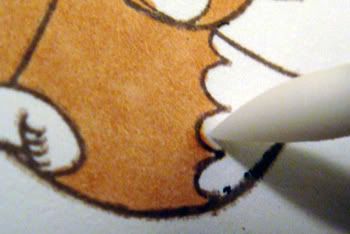
Fun techniques!
Marianne has done a few fun things with the Colorless Blender Marker on her awesome blog, I Like Markers. Here are a few links that you might be interested in!
Simple Bricks
Jeans
Air Bubbles
Coloring with one marker color and using the Colorless Blender Marker to highlight.
Here I started coloring one of my Unity "Birds Of A Feather" stamps using one color (BG10).
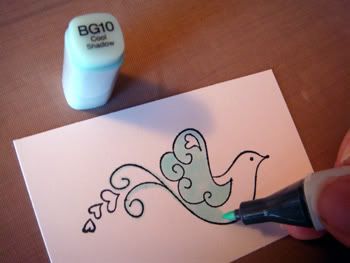
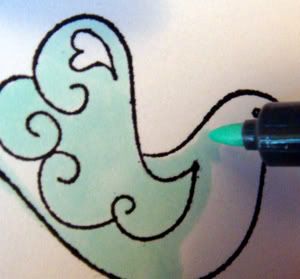
I am using Neenah Classic Crest Solar White and I found (for me) the marker bleeds outside the stamped line if I color too close to it. SO my solution is to color close to the line but not up against it. I allow the ink to soak into the paper and bleed out towards the line.
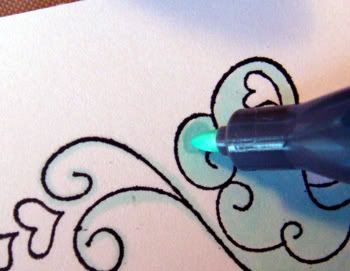
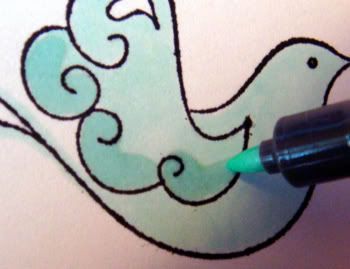
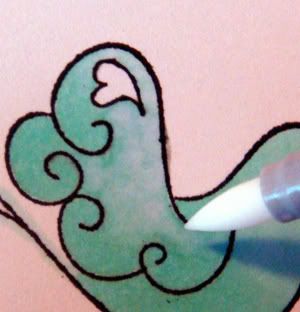
Here, I am going back over the shadows and then I am going out and smoothing the rest of the image so that I blend the darker areas with the lighter areas.
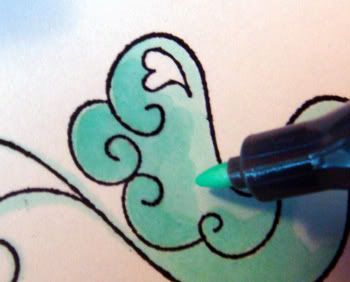
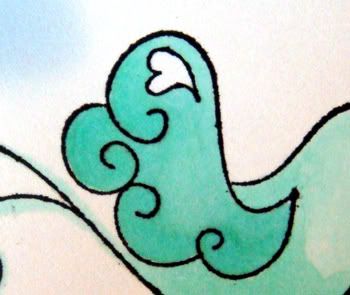
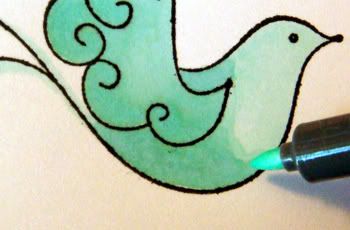
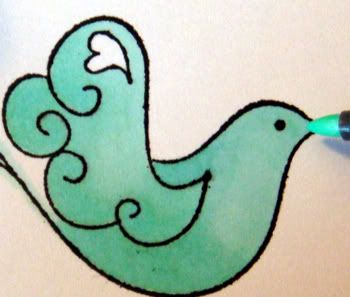
I could leave it as is but I wanted to lighten a few areas so I took the Colorless Blender marker and faded out the areas I wanted to add highlights.
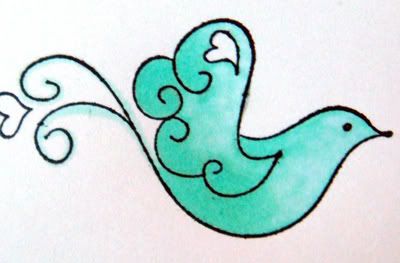
Sunday, I will finish this image with another technique.
I hope you found this post helpful!

