This tutorial will hopefully help you with getting the guards off all of your Stampin' Up! punches.
Yes! I do take requests!
I thought a picture tutorial might help with a link to my original Scalloped Edge tutorial
and the Scalloped Edge update.
Please leave thoughts as you stop by! I appreciate knowing if these help in any way or if you would like to see a different point of view from the camera (etc.).
Here you go!
Here is what you are starting out with:

Gently tug or pull at one side of the guard until you feel it give.
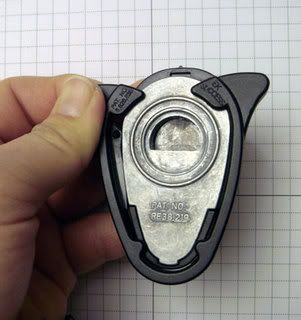
Slide it off to one side.
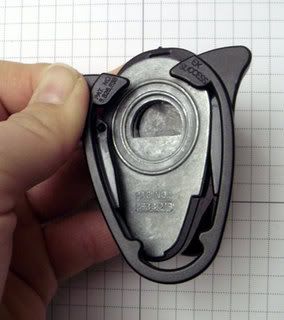
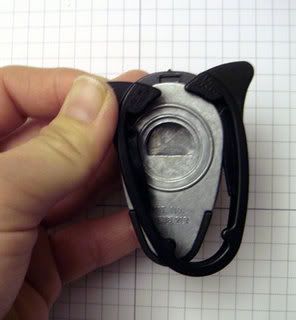
Just pop off the other side.


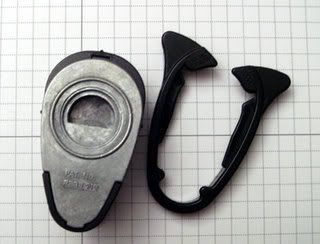
Getting it back on!
Get a good grip on the guard and slide one side of the guard over the top side of the punch. Now slip it over down the side and under.
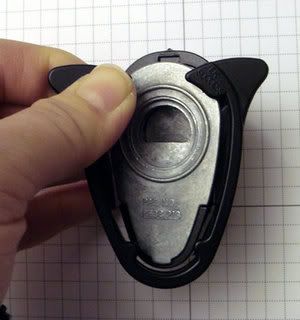
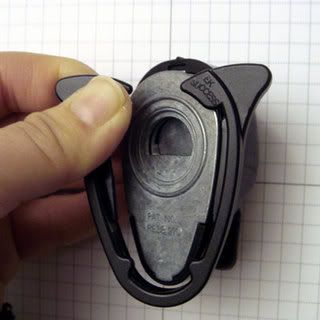
Now slide the guard you are holding onto, down into the punch.
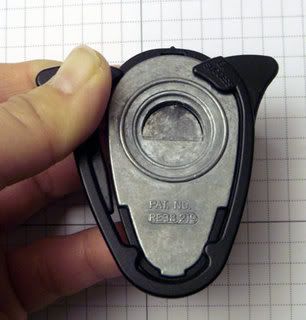
Back to where you started!



6 comments:
Thanks Jane. I have never seen how to remove them either.
By the way, I have to say I love the music playing! I actually leave it on in the background!
Tres cool, merci!
How wonderfully helpful and patient you are to post this tutorial! I'm pretty sure I don't have a helpful bone in my body, so I'm especially grateful to you! I'll just say, "go to Whoopsie Daisy's blog-she's actually helpful!!" Great projects below this post, too!
You so rock tutorials and such...must give me a lesson soon. Hugs!
That's quite a coincidence that you posted this this week... I was at the Scrapbook Expo in Orange County on Sunday, looking for a corner rounder so I could make scallops like you posted in your tutorial last year and I couldn't find one! I checked my neighborhood LSSs and I couldn't find one. So I popped in here to ask you if you could get me one. I'm going to browse the SU catalog online and see if there is anything else I want, but I definitely want the corner rounder for scallops.
Joni
AHAHA I never knew you could do that!!! I'm EXCITED becuase I can't stand those sometimes!! Thanks so much. AND THANK YOU for making my little one a card so thoughtful and she will love it!!
Post a Comment