I hope fun was had by all!
I promised details on the make & take that I taught this afternoon. Unfortunately, my Word doc is being temperamental so I will post a tutorial here. If you have any questions, just post under comments to this post or email me.
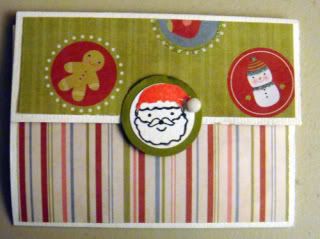
Wallet style photo / gift card holder
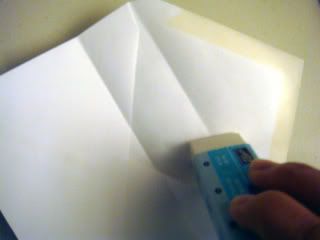
Take a standard envelope and score it at 3"

Glue down flap with and carefully trim off excess.
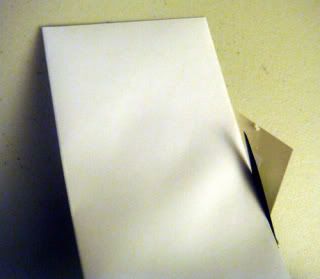
Cut one end off at 4"
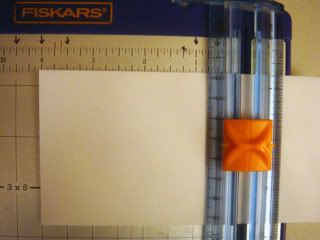
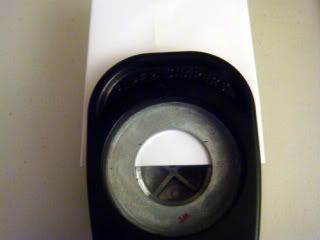
Take the open end and punch out a half circle with a 1-1/4" circle punch.
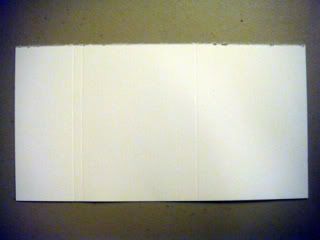
Cardstock (4-1/2" x 8-1/2")
Score at 3-1/4", 6-1/2", and 6-3/4"
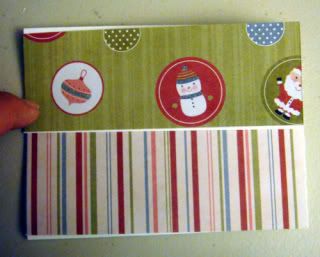
Add designer paper to the front top and bottom panels:
Top panel: 1-1/2" x 4-1/4"
Bottom panel: 3" x 4-1/4"
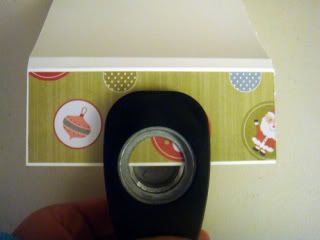
Punch half circle in top panel with 1" circle punch
Inside photo / gift card holder:
Cardstock: 3-1/8" x 5"
Score at 1" and glue down to inside of "wallet"
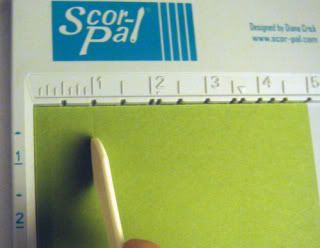
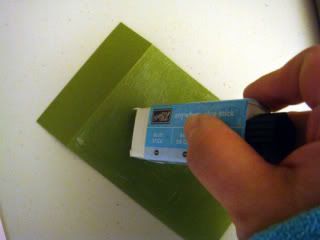
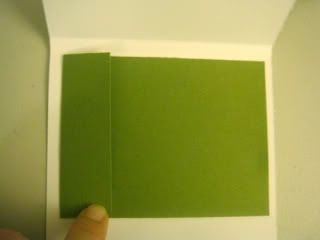
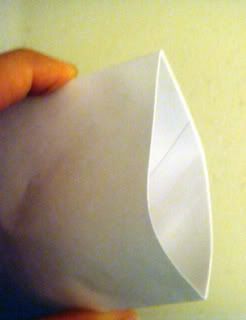
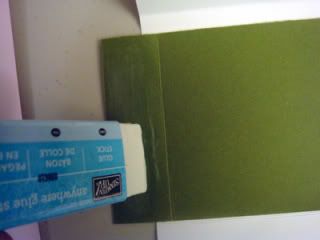
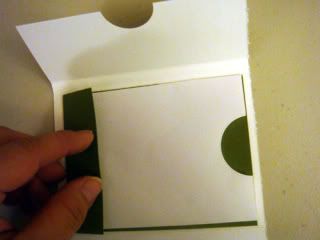
Add more glue to the inside of the 1" flap and attach the trimmed envelope, seam side down.
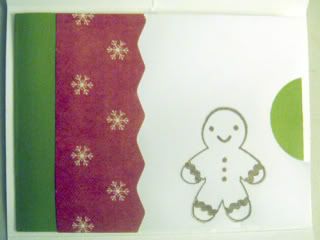
Stamp images first and then add designer paper strip. I used my Cutterpede and an interchangeable wavy border blade to create a decorative edge.
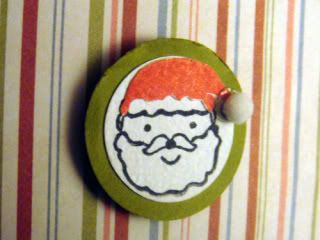
Stamp image and punch out with 1" circle punch. Punch 2nd layer with 1-1/4" circle punch. Glue layers together. Use pop-up dot to attach to card.



2 comments:
Oh, that is just super cute! Wonderful tutorial.
This is such a great idea! Perfect for the holidays. Thank you for taking the time to post the tutorial!
Post a Comment