Monday, October 27, 2008

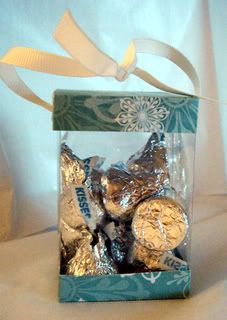
Acetate Treat Holder Tutorial

Hi! I know this is going to have a post date other than today's date. That's because I had it ready to post a few days ago and completely forgot to do so. It's just been one really crazy week. From my chats with a lot of you, it sounds like it has been this way for most. Well, I hope everyone is hanging in there! Maybe next week will slow down for us a little? lol!

Anyways, here's what I was supposed to post earlier this week. Enjoy!

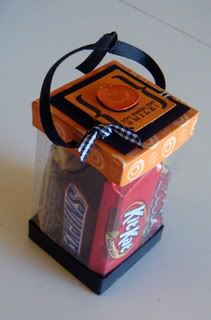
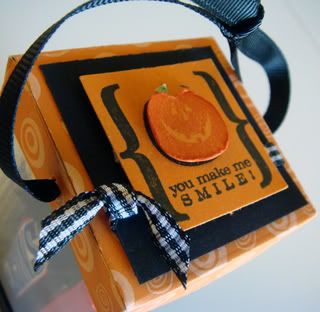
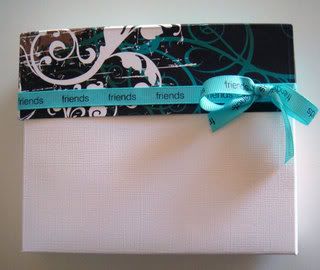
This box is the one that was created by Susie McCormick called "2,4,6,8 Acetate Box".

I didn't want to just take all the hard work she put, into creating her Adobe file, that she had shared with demonstrators at SCS, and post it publicly here. So I have put together a little step by step pictorial for all of you. Thanks, Susie, for sharing the file with us fellow demonstrators!


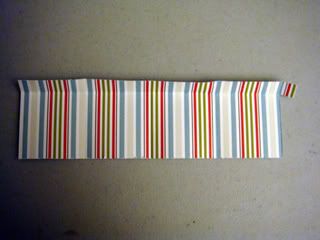
You will need 2 sheets of your favorite DSP (designer sheet paper) - 2-1/2" x 8-1/2"


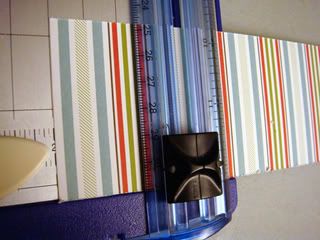
With each sheet of DSP, you will score at: 2", 4", 6", 8" along the strip
Photobucket


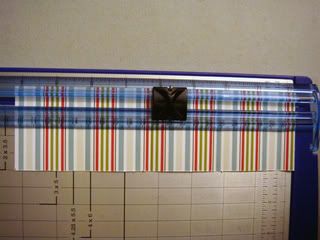
Turn the DSP on its side and score it at a 1/2"
Photobucket


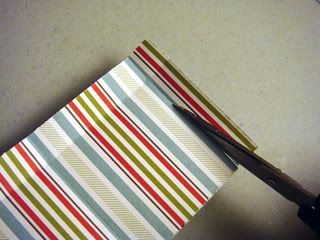
Trim 1/2" off the end but leave the short tab attached up on top
Photobucket


Photobucket


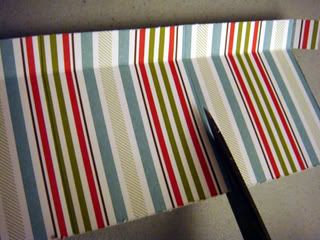
Cut each 2" scored line up to the 1/2" mark
Photobucket


Shuffle the cut slabs until it is a snug fit. I like to lift each one in order and glue each layer down.
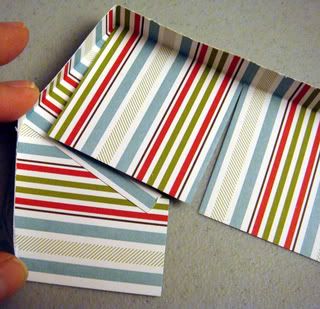
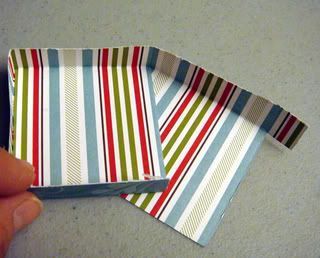
Photobucket


Photobucket


Glue down the tiny tab inside the box.
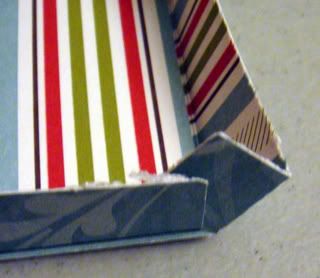
Photobucket


Repeat this with second DSP. You need one for the top of the treat holder and another for the bottom.


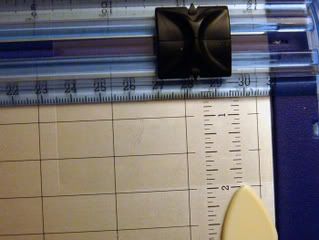
Trim your acetate (transparencies) to 3-1/2" x 8-1/4"

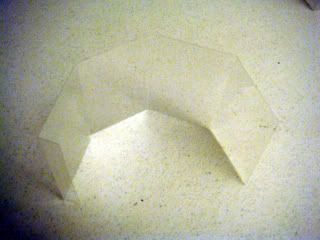
Score at 1-15/16" four times across the sheet.

You will have a 1/2" tab left at the end.


Photobucket


Photobucket


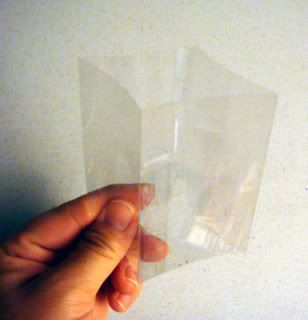
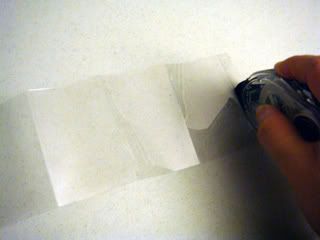
Crease all folds. Add adhesive along the outside of the 1/2" tab.
Photobucket


Photobucket


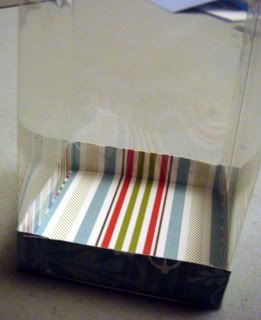
Add adhesive to the "bottom lid" and slip in one side of the acetate box.
Press all sides firmly against the sides.
Photobucket


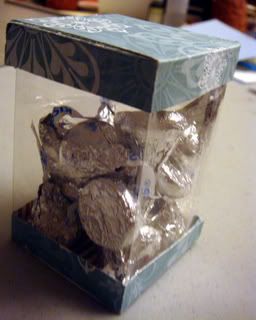
This is what it looks like now with the top lid on and a bit of yummy inside:

Photobucket

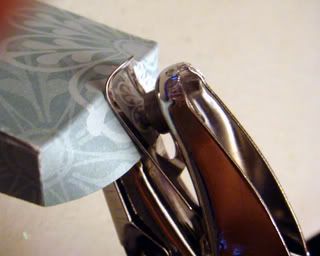
Now for the holes on the side for the ribbons. Find the seam of the acetate. This is the "back" of your box. The 2 holes you will make will go to the sides of this seam. Use your hole punch to get in under the "top" lid. Punch a hole on each side.

Photobucket

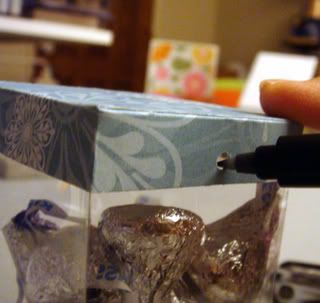
Put the "top" lid back on. Using a small tipped marker, make a mark where your holes are on the acetate. Take the lid off and use the same hole punch to go over the marks you made on each side.

Photobucket

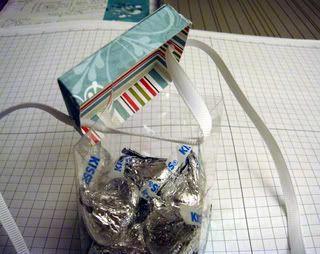
Thread ribbon in through the holes of the acetate first, then out through the holes of the "top" lid. Place the lid back on the box and tie a knot at the end of the ribbon.

Photobucket

Photobucket

I hope you have enjoyed this tutorial and find it easy to use. Please give proper credit to Susie McCormick for the original design of this most adorable treat holder when you pass it on.

Happy Hauntings!

Jane


Saturday, October 25, 2008

Halloween treats!

I have a couple of Halloween treats to share!

Photobucket

Photobucket

I will have step-by-step instructions on this as well as the little box that I had shown in an earlier post in tomorrow's post. More information on the organization folder will be posted soon too for those who have been emailing me!

The second is one that you can bake and eat!

Ooey Gooey S’mores Bars
1 14oz can Sweetened Condensed Milk (I use Dulce de leche)
1 package of small marshmallows
1 package of milk chocolate chips
2 pkgs graham cracker (crush well) in a large ziplock bag
1 package graham cracker (crush well) in separate ziplock bag
1 stick sweet unsalted butter

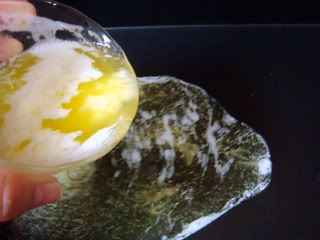
Melt butter into 13x9 pan.
Photobucket

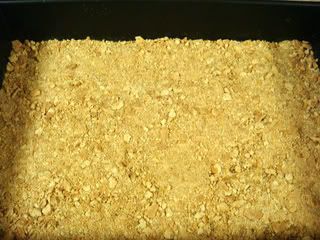
Pour ziplock bag with 2 pkgs of graham cracker crumbs over the butter. Spread well.
Photobucket

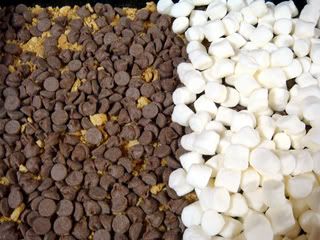
Next, add a layer of milk chocolate chips. Then the marshmallows.
Photobucket

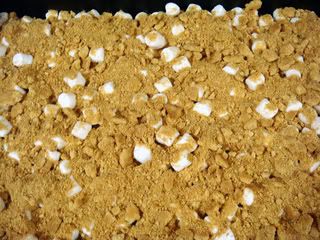
Then the last bag of graham cracker crumbs.
Photobucket

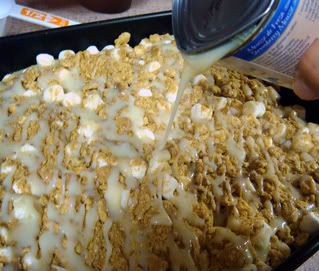
Drizzle the dulche de leche all over the top.
Photobucket

Bake at 350 degrees for about 18 minutes.
Take care not to burn the chocolate. It is done when the marshmallows are browned.
Loosen the edges once you take it out of the oven.
Let it cool completely before cutting it into squares.
Store in airtight containers in the fridge if there are any left overs. :)

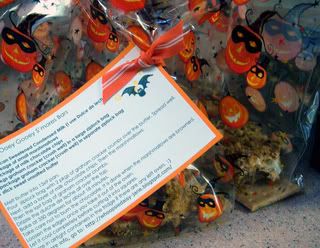
I put a copy of the recipe on some Pumpkin Pie cardstock and tied it on with some Tangerine Tango ribbon. The s'mores bars are SO ooey and gooey that I put them on a slab of graham cracker before putting into the bags.

Photobucket

This recipe was found on SCS, contributed by Mirabella on "Simple but yummy goodies for stamp camps".

Cheers!
Jane
Wednesday, October 22, 2008

Project Nursery!

I just wanted to take a moment to thank Melisa from Project Nursery for featuring Stampin' Up! on her blog this week. I am so excited to be able to say that she did a write-up on me today! You can see it here: She's Crafty.

Would you mind going over there and checking it out... and letting Melisa know what you think?

Thank you, Melisa for a FABULOUS write-up!
I am looking forward to seeing more!

hugs,
Jane

Tuesday, October 21, 2008

A Pumpkin Box to share & A Monday's Fun Day Winner!

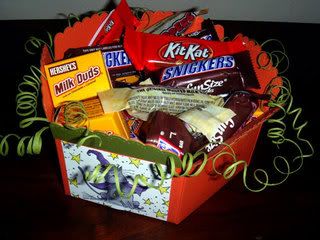
Remember the little box I showed you how to make with the Scallop Envelope Bigz Die?
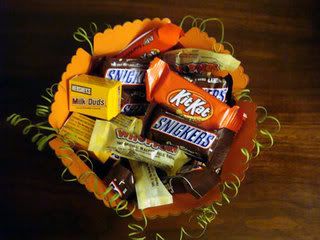
I took it a step further and made this cute pumpkin "bowl" to hold my Halloween candy!

Photobucket
Photobucket


It's really easy!

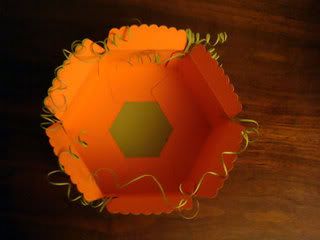
Just go back to my original instructions and add two more panels to the box.
The inside of your box should look like this once you put it together:

Photobucket

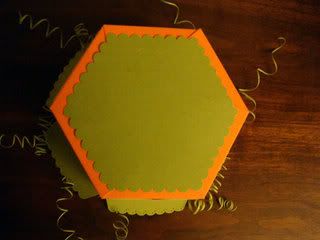
Then you go over a piece of Old Olive cardstock with a pencil and trace the six sides of the bottom and cut it out. Use your Scallop Edge Punch and punch the edges. It should look like this in the end:

Photobucket

For the vines, I trimmed thin pieces of Old Olive cardstock lengthwise with my Carl trimmer and used my paper piecer to roll it up. You can use a pencil or anything smooth, round, and relatively thin. I used my Mono Adhesive Glue and attached the vines to the insides of my box. Add some candy and you are good to go!

Photobucket

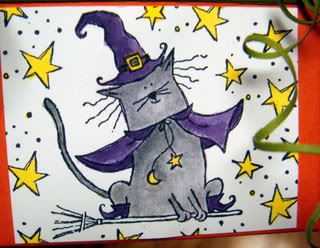
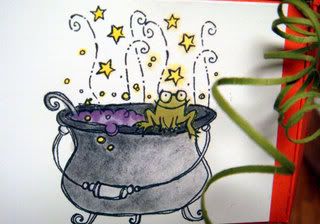
My stamped images are from one my favorite Halloween sets, Haunting Halloween.
I used my Aqua Pen and Classic Stampin' Ink Pads... just squish the top of the lid against the ink pad and use the ink that has puddled against the lid as your ink pallette and color away!

Photobucket
ink pads: Yoyo Yellow, Elegant Eggplant, Close to Cocoa, Going Gray

Photobucket
ink pads: Yoyo Yellow, Old Olive, Elegant Eggplane, Going Gray


Okay now!
For this week's Monday's Fun Day Winner!

Drum roll please...

~~*~~*~~*~~*~~*~~*~~*~~*~~*~~*~~*~~*~~*~~*~~*~~*~~*~~*~~*~~*~~*~~

Random Integer Generator

Here are your random numbers:

1


Timestamp: 2008-10-21 13:24:19 UTC


Congratulations, Maylee!
Please email me at whoopsie.daisy@sbcglobal.net with your mailing address.

:) Jane

Monday, October 13, 2008

Monday's Fun Day, from Memories Live On!

All the precious time
like the wind the years go by
precious butterfly
spread your wings and fly

lyrics from "Butterfly Kisses" Bob Carlisle


I keep hearing this song when I use this butterfly stamp set.
I designed this card for my Hostess Club workshop.
Used White Opaque Staz-On for the acetate sheet and small glue dots on the back to adhere white cardstock to the acetate. Kiwi Kiss for the Upsy Daisy stamp. Urban Garden DSP.

Photobucket

Vivian at Memories Live On has offered to help out with some of my Monday's Fun Day giveaways! Thank you, Vivian!! If you get a chance, stop by the store and say "hi"! My next techniques card class at MLO will be focusing on the use of acetate with a wintery theme and the super cute Changito and Fluffles. I teach there on the second Saturday of every month. In December, all instructors will be taking turns hosting a make & take that day so I will not have a class. However, I will have some really cute stuff to show you if you come visit me at the store!

Monday's Fun Day for the week of October 13...

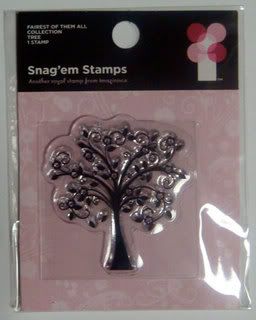
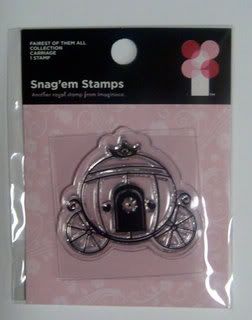
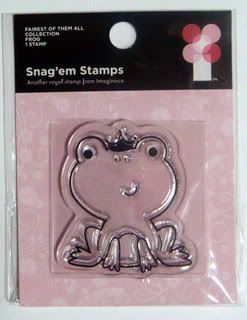
Snag 'em Stamps!
Photobucket
Photobucket
Photobucket

Aren't they such sweet and adorable images?

To have a chance to win this set, just leave one comment here this week. Let me know what your favorite stamp company is and if you have a favorite stamp image like Tilda or Fluffles or Bella.

TTFN!
Jane
Sunday, October 12, 2008

Pop Up Blossoms, Prepping for a workshop, A peek into my craft room, and Monday's Fun Day winner...

I had posted this card in my last post but didn't show you what was inside it.
I had designed it for one of my Japanese workshops.

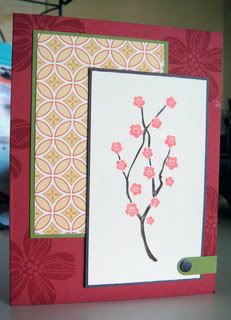
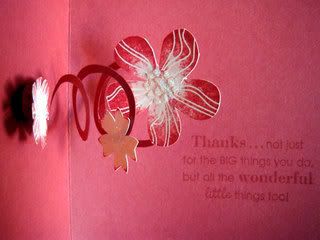
It's really pretty with the new Haiku DSP and Riding Hood Red / Chocolate Chip / Old Olive combo. The inside features a spiral pop-up that opens sideways instead of the traditional "up and down" motion.

Photobucket

Photobucket

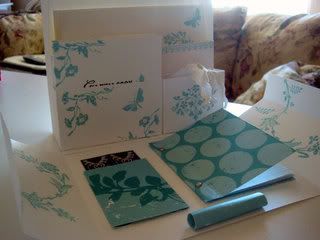
I also made this little box and notecard set for one of my Japanese workshop regulars who needed some inspiration with the stamp set.

PhotobucketPhotobucketPhotobucketPhotobucket

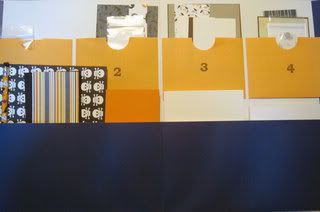
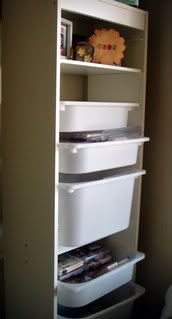
I received a request to post the folder system that I use when I teach at Memories Live On, on my blog. I used it today for my evening Hostess Club Workshop since I wasn't sure if I was going to have 3 or 7 ladies coming over. It's an idea that I borrowed from Julie Ebersole when I was up in Sacramento a few months ago. Julie was there teaching a couple of A muse-a-Palooza classes at The Paper Garden. She is such a sweetie and so full of energy! Her folders inspired me to make my own when I first got my job teaching at MLO. Thank you, Julie!

PhotobucketPhotobucket

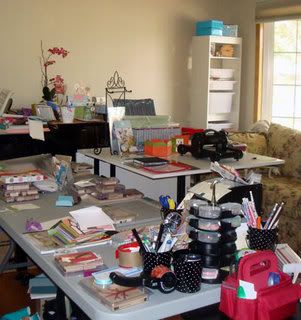
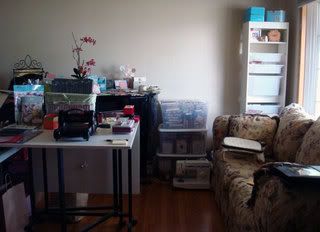
A peek into my craft room on a good day...

Photobucket
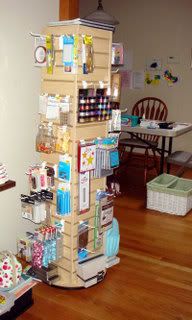
Where I store my stamps.


Photobucket

Photobucket


Photobucket

I just used random.org and I have a winner for Monday's Fun Day!

Random Integer Generator
Here are your random numbers:9
Timestamp: 2008-10-13 07:30:32 UTC

The Mama Monkey said...
Great cards! Wish I lived in driving distance! :)My favorite chocolate is See's Scotchmallows. Can you believe I did not make it to the store when we were out this summer? I know, it is a horrible fact! I did succomb to the kiosk in the SFO airport however so I could get my fix...sad, sad, sad. :)

Well now, I think this Monday's Fun Day is going overseas! lol!
Don't you live in Japan?
Email me your address and I will get this postal to you right away.
whoopsie.daisy@sbcglobal.net

Thanks everyone for joining in on the fun!
Come back tomorrow afternoon for another Monday's Fun Day giveaway!
This time, it comes from Memories Live On. That's right! Vivian has donated something for me to RAK and let me tell you, these things are super cute!

Off to catch some zzz's!
Ciao!
Jane
Monday, October 06, 2008

Holiday Mini, a few cards to share, MLO Class, and Monday's Fun Day!

Can you believe it's October?
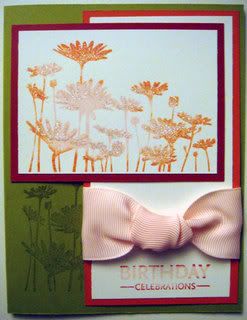

That means the Holiday Mini Catalog is now available for your viewing pleasure!

Email me this week to place those Halloween orders. It is taking an extra few days longer to get these orders filled by Stampin' UP! due to demand so please expect a week's delay.


Holiday Mini Catalog


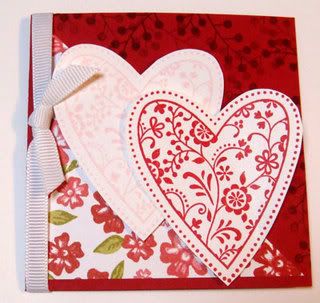
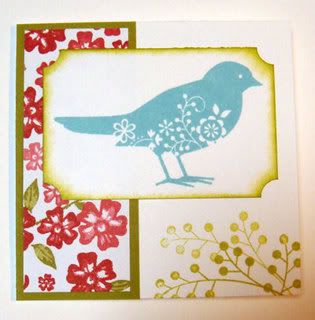
These are a few of the cards we made at some of the workshops I held last month:


Photobucket


PhotobucketPhotobucket


Photobucket


PhotobucketPhotobucket

A swap card I made:

PhotobucketPhotobucket

This Saturday at Memories Live On, I will be teaching a class using an Inkadinkado clear stamp set called "Garden Flower". We will be making this:

Photobucket

Photobucket

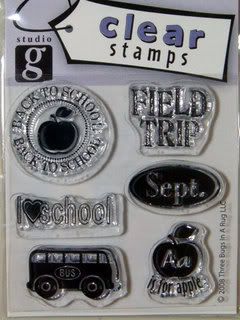
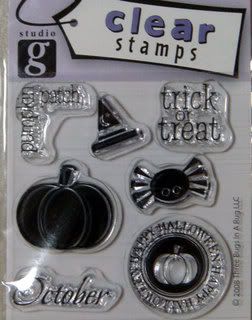
Speaking of clear stamps, I have a couple to give away for Monday's Fun Day!

Here's what you can get if your number gets chosen by Random.org.

Photobucket

Photobucket

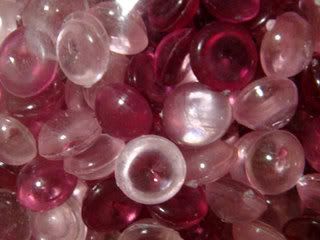
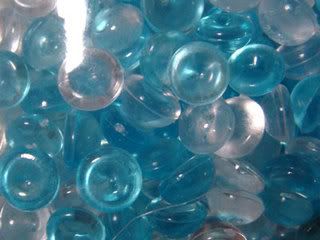
I will also fill small baggies with these faux dew drops that I found at Michael's.

Photobucket

Photobucket

Okay! I want to know... "What are your favorite treats (candy/chocolate)?"

I'm off to get some sleep before the little ones get up in a couple of hours.

~ Jane