With a Stamp-a-ma-jig, all this and more is possible!
You can even go back and stamp over an image that was stamped unevenly!
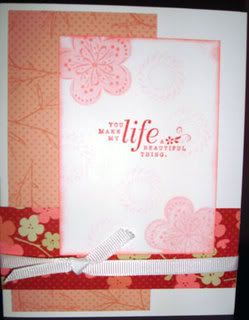
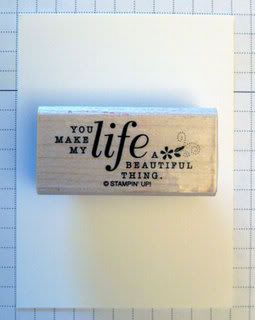
For the tutorial, I will use Basic Gray when stamping with the Stamp-a-ma-jig so that you can see it well.

Stamp set: A Beautiful Thing
Ink: Ruby Red, Pretty in Pink, Cameo Coral, (Basic Gray)
First thing you want to do is to create the stamped image on your imaging sheet (shown here). The imaging sheet is a square plastic sheet that has two sides. One side is smooth and the other is textured. I use the smooth side with my Classic Ink pads. I use the textured side with my Craft ink pads and waterproof inks.
Line up the imaging sheet up against the handle.

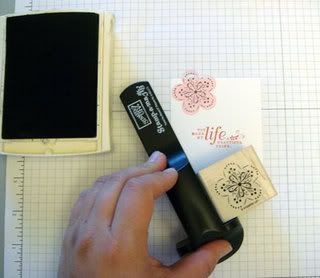
I inked up the outline stamp in Basic Gray (any dark color will do so that you can see the image on the imaging sheet) and slid the stamp against and down the handle until it was flush tight against the corner of the handle.

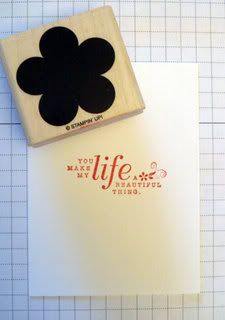
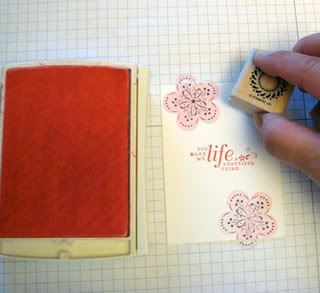
Next I added a tiny bit of adhesive on the back of on my Whisper White card stock to keep it from moving around. Then I stamped my word stamp in Ruby Red.
Then I stamped my bold stamp in Pretty in Pink.
Be sure to note where the bottom of your stamp is as you stamp, since your outline stamp will have to be held in the same way.
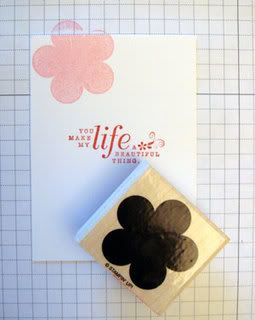
Take your imaging sheet with the outline stamp already stamped on it.
Place the image over the stamped image on your card stock.
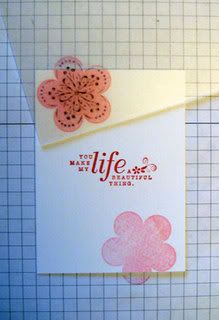
Line up the handle against the imaging sheet.
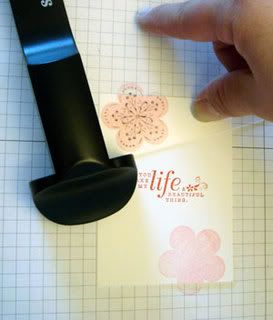
Carefully hold the handle down in place as you take the imaging sheet away.
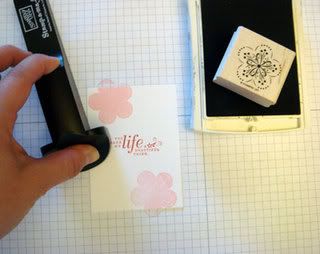
On the original card, I inked up the outline stamp in Cameo Coral and stamped that over the Pretty in Pink bold stamp. However, for you, I inked up and stamped the outline stamp in Basic Gray so that you can see the image. Be sure to bring the inked stamp up against the handle and slide it down the handle until it is flush against the T-handle - then stamp down.
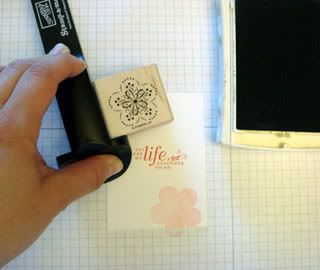
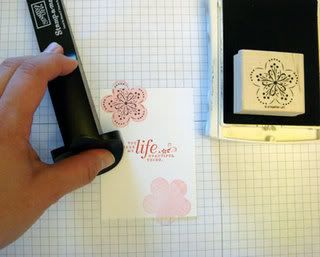
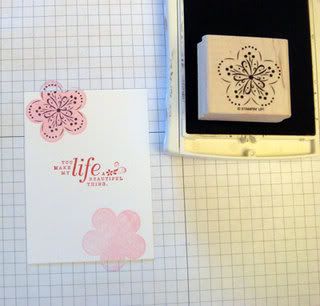
Repeat again for the second flower:
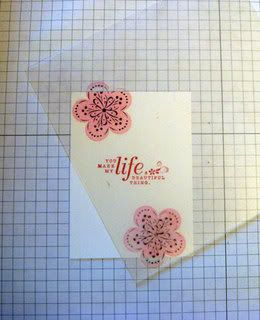
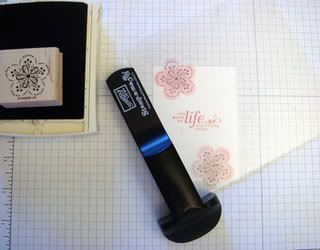
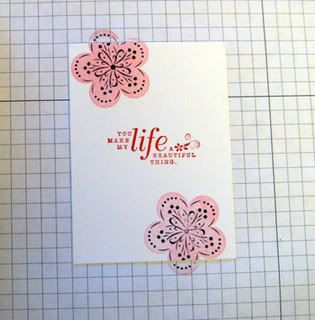
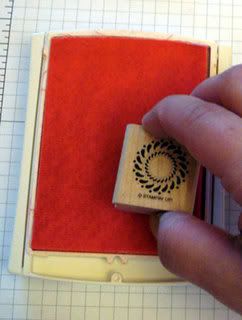
Then for the final touch, I inked up the small accent stamp in Pretty in Pink and stamped off once each time before stamping on the Whisper White card stock - creating my own background without interrupting the stamped images.
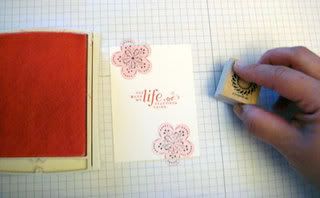
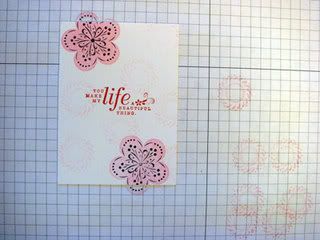
Final card:

Let me know if you have any questions!
I hope this helped!
Happy Stampin'!



8 comments:
Very nice tutorial and a lovely card.
Great tutorial! Love the card :)
Great tutorial...I have struggled with the STamp-a-ma-jig for months- this really helps- thank you
Okay, seriously - write a book on tutorials...love your step by step detailed photos and instructions!
How's the head? Any better? HUGS!!!
I love your tutorials!! This is so great! Card is lovely & I especially love how you stamped on the DSP, too. Thanks!!
Is that how it works?!!! I always wondered! Thanks for the tutorial, Jane... Your tutorials are the BEST!
WOW this is fantastic thank you so much for this. I just love coming to your blog.
Awesome card Jane!!! And your tutorial was great!!! :D Hope you are feeling better!!! :D
Post a Comment