Kevin left for Japan this morning and it has been one crazy week.
I wanted to get this little basket tutorial up tonight before it became too late.
It's really easy and all you need is a piece of 6" x 6" Designer Series Paper (any double sided paper will do), scoring blade, scissors, adhesive, hole punch, and ribbon! Oh! Maybe something to put inside the basket. Wait until you see what I found at Target! lol!
Score your paper in half both ways at 3".
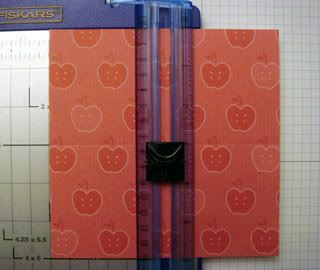
Score all four sides in at 1-1/2".
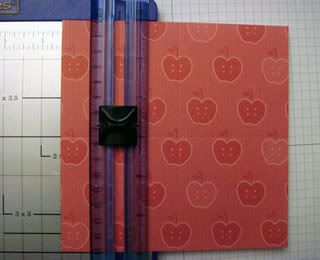
Trim off the four squares of each corner:
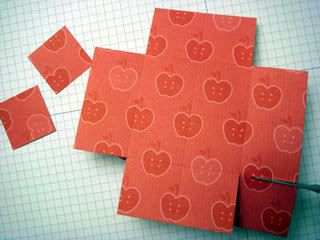
Between the two remaining blocks, cut along the scored line up to the next scored line.
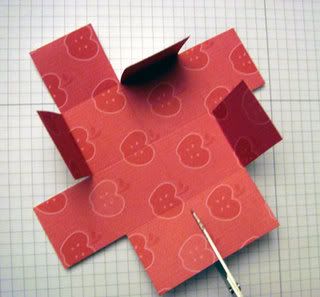
I am right handed, so I will work from my right to left. If it's easier for you to work from left to right, I don't think it makes a difference. Put adhesive on the back of one side and bring it up in front of the other side and press down.
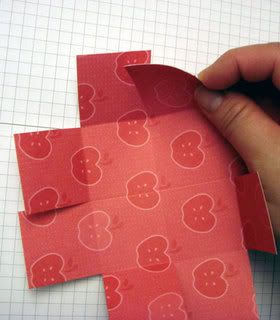
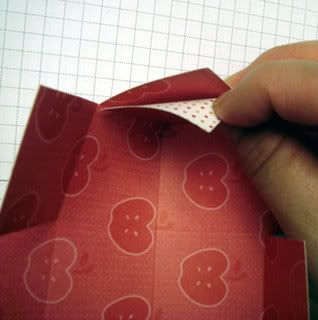
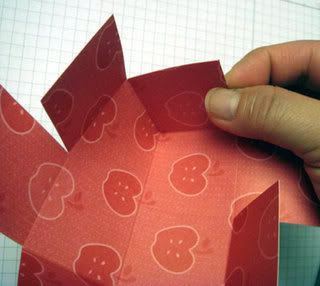
It is easier at this point to flip your basket over and put adhesive on the rest of your panels before continuing. Just remember which panel you are putting in front. I am working right in front of left, so I am running the adhesive on the back of the right panels:
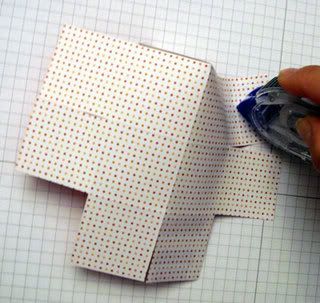
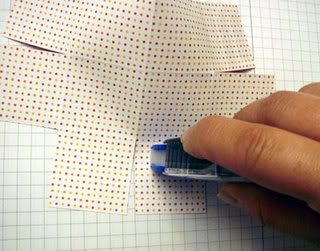
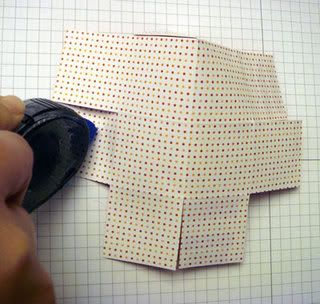
Turn it back over and continue putting the panels together:
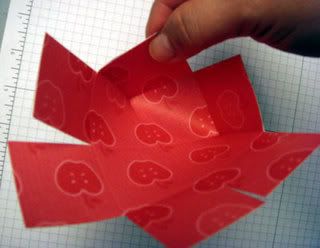
Until it looks like this:
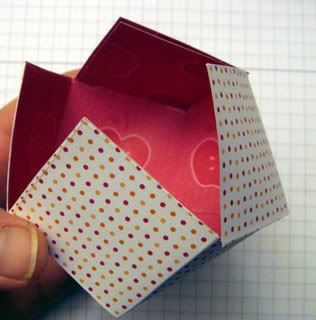
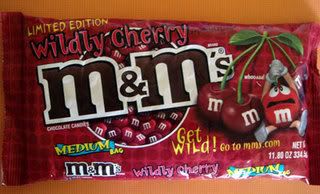
This is what I found at Target this morning:
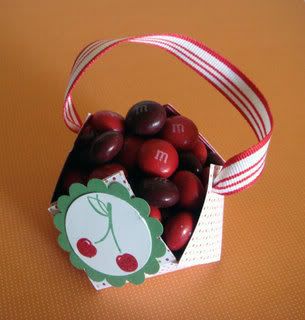
Remember the Scratch-n-Sniff tutorial I did for "Try This Tuesday Techniques"? I made one with Sugar-Free Cherry Jell-O and the cherry stamp from the Tart & Tangy stamp set. I added some Real Red striped grosgrain ribbon and voilà!
Happy Stampin'!



9 comments:
Wow how cute! You are so creative!
Cute basket and wonderful tutorial as always!
What great tutorial. I have not yet tried those boxes or the scratch and sniff. Great job!
I tried the basket. It really was easy with your directions and pictures to go by.
Thanks.
What an adorable basket Jane!
OMG!!! I love this & have never seen the Cherry M&M's. How super cool are you!!!
Ooo, LOVE this!!
wow...what a great tutorial!!! cute basket...I am definately gonna have to try and make one of these!!! super cute!!! :D
Oh this is awesome. I love it.
Post a Comment