Sunday, May 24, 2009
Pocket Cards Class - June 13th at MLO
Instructor: Jane Matsumoto
Date: Saturday, June 13th
Time: 2p – 5p
Fee: $25
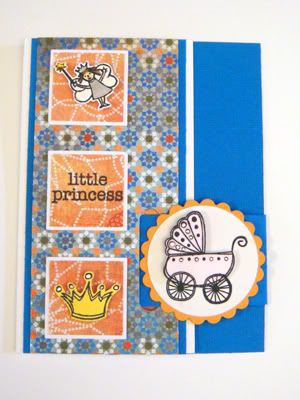
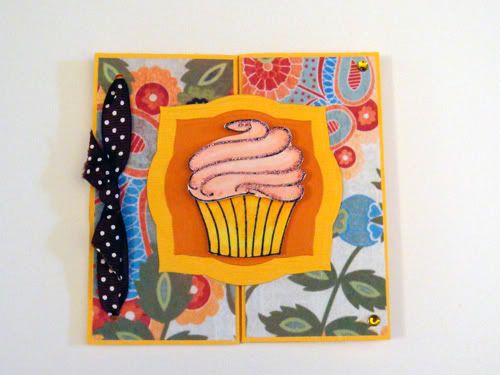
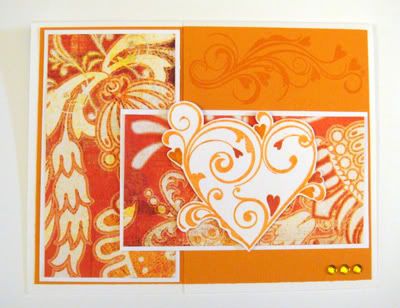
Make someone’s day with one of these colorful cards using Basic Grey “Marrakech” paper! Whether you put a gift card inside the pocket or a handwritten letter to tell them how much you care, it is sure to brighten their day! I will be showing you how you can easily use Hero Art stamps, Copic markers, Smooch (pearlized accent ink), Stickles, GlimmerMist and rhinestones to decorate these pretty cards.
All levels of crafters are welcome! All materials are pre-cut / pre-scored and detailed instructions are available for you to take home.
Please bring the following items to class if you have them (please be sure to label all of your personal items!)
Paper trimmer, Crop-A-Dile, 1-1/4” square punch, 1-3/8” square punch, word window punch, scissors, and your favorite adhesive.
Copics markers: E00, E57, R20, Y13, Y38, “0” Blender
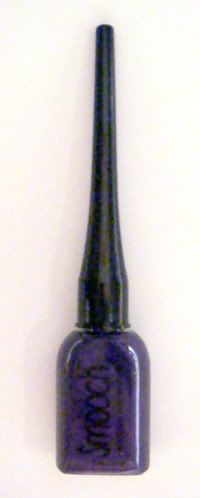
Smooch: Siren, Pumpkin, Moonlight, Silverfox
Stickles: Cotton Candy
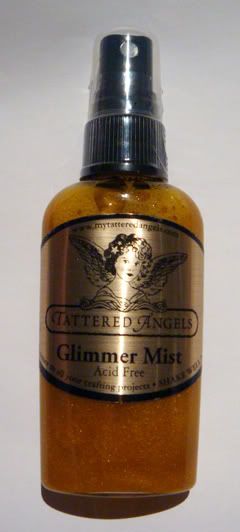
GlimmerMist: Yellow Daisy
Copic Christmas with Penny Black in July!
Date: Sunday, July 12th
Time: 1p - 4p
The Never-Ending Card and Tri-Fold Shutter Card you will learn to make are sure to wow your family and friends!
Leapin' Penny Black Frogs!
Date: Saturday, August 1st
Time: 2p - 5p
Seats go fast so be sure to reserve yours soon! Bring a friend or two!
My classes require a 24 hour advance reservation
(All materials are pre-cut and pre-scored so I need the extra time to prepare the materials in advance.)
Memories Live On: (408) 446-9901
Cheers!
Tuesday, May 19, 2009
Coloring with Copics with a limited range of colors
I have been dying to get my hands on their images and now I have a whole set! Woo hoo!!
Thank you, Amy!
Now how about a quick tutorial on how to color with Copics when you have just a few colors to work with...
One of the questions I get asked the most during Copic demonstrations is: "What colors should I buy?"
Well, I always suggest the basic markers that you will need or use often... the "0" Colorless Blender, the "00" or "000" of the color families, skin tones, and hair color. Then you can start looking at the colors that you like in the color families...the Pinks and Reds, Yellows and Oranges, Blues and Greens, Purple, Earth tones, Grays, etc. Just keep in mind that the colors will blend the best if you stay 3-4 digits apart at most with the last number on each marker (ie. R20 and R24). For more information on these fabulous markers, just scroll down the left side of my blog and look under "LABELS" for my posts on "Copics". Hopefully you will find some helpful information in those older posts. Let me know if you need more or have any questions!
For this tutorial, let's just say you have these random colors to pick from:
E00 (skin white), E57 (light walnut), R20 (blush), R24 (prawn), YG63 (pea green), and the Colorless Blender.
Let's start with the turtle. I used YG63 in one layer for the entire turtle.
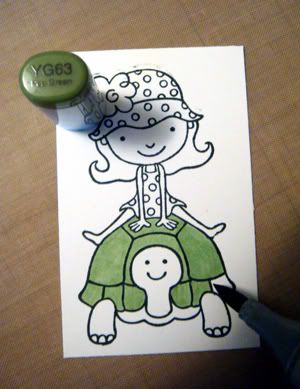
Then I went back over the areas of the turtle where I wanted some shading.
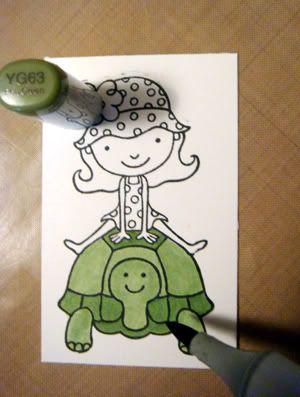
I quickly and thoroughly went over the turtle's head, arms, leg, and tail in small circular motions with the Colorless Blender. Let it dry first before going back again and again because (keep in mind) that this marker is not really a blender but more of a "pusher".
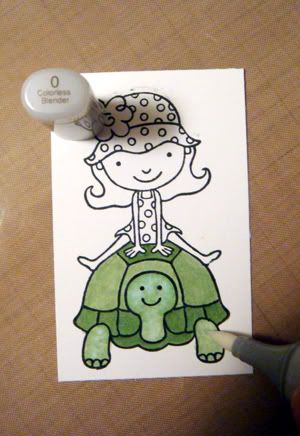
The turtle's shell looked a little "off" so I went over it all with a coat of YG63.
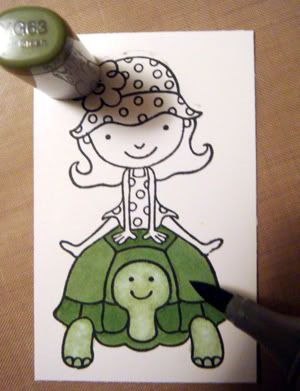
This darkened some of the areas I wanted to sparkle a bit so I went over some of the areas with the Colorless Blender.
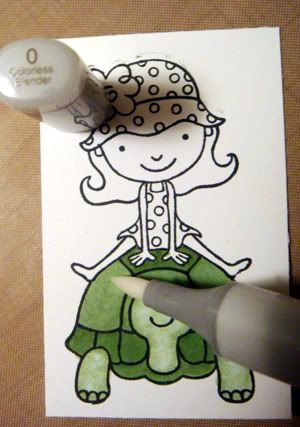
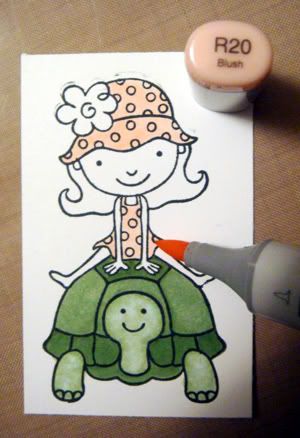
Taking a break from the turtle, I moved up and started working on her outfit with R20. I covered the polka dots as well. I knew I had the R24 marker (which is my 3-4 colors darker than R20 marker) that I wanted to use on her outfit. However, if I used the R24 first and then tried to put the pink polka dots in, it might not show through as nicely. It might have worked with the Colorless Blender. I might have to try that out and post it tomorrow!
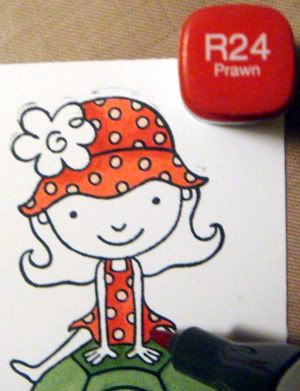
R24 (prawn) was used to add some shadows to the dress.
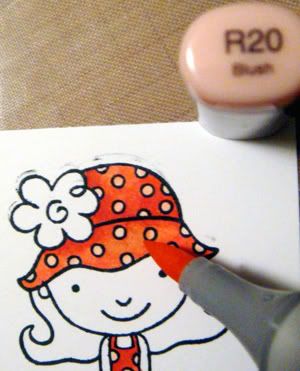
To smooth out the lines, I went back over the outfit with R20.
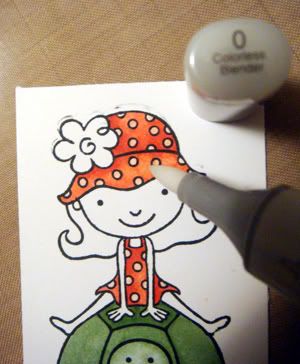
To add more highlights, I used the Colorless blender.
Now for her hair.... E57 (light walnut) was used to color the hair... again using circles and constantly moving the marker. I keep saying mentioning this because my readers ask why they get streaks and how they can avoid them. Honestly, it will all come together with practice. Keep trying. You will see! The ladies in my classes have got it together now! Practice, practice, practice! Keep that marker moving until you get to the end.
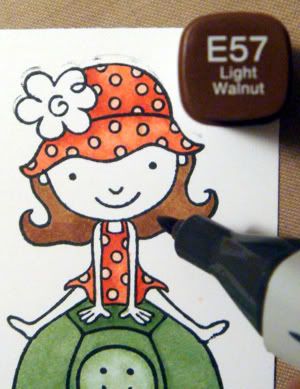
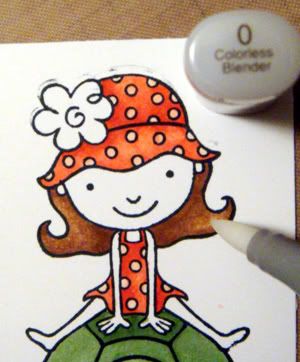
Time for more highlights using the Colorless Blender!
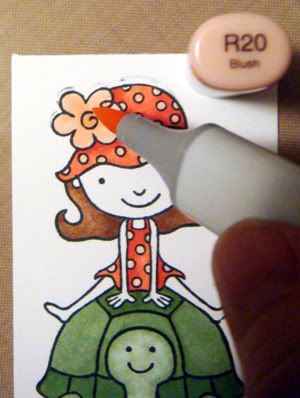
Whoopsie! Can't forget the flower on her hat! I used R20.
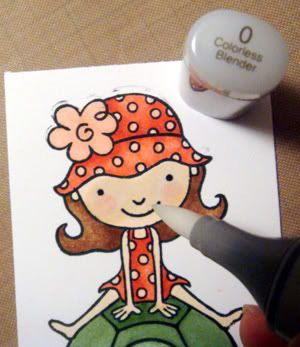
Here, I used the Colorless Blender to "wet" the facial area. This helps make it easier to add a layer of skin color without streaks.
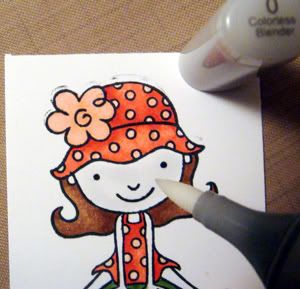
Time for some E00 on her face!
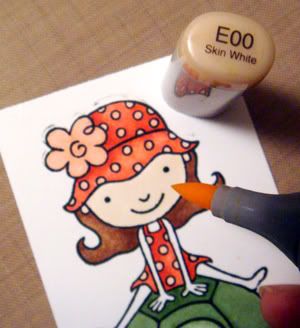
R20 for the cheeks.
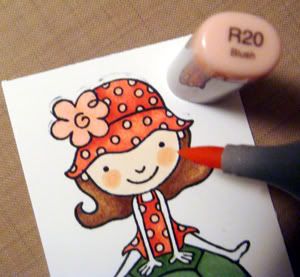
Too much? Use E00 to blend and then use the Colorless Blender... work in large circles. Remember that this blender is a "pusher".
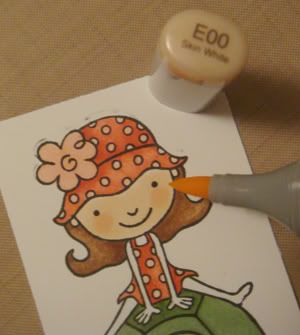
Here's the finished image:
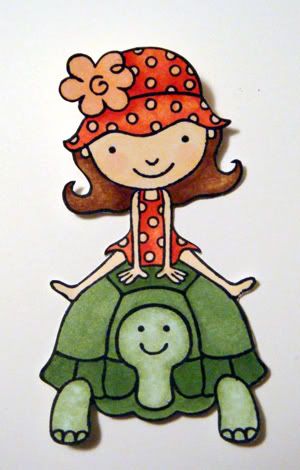
I love this set! Can't wait to ink the rest up!
Come back tomorrow for more projects!
Monday, May 18, 2009
Purple and Gold, baby!!
Purple and Gold...
What's the first thing that comes to mind when you think of these colors?
Hmmmm?
Any sports fans out there? ;)
Did anyone follow the Laker's 7 game series with the Rockets that ended with the 19 point win on Sunday? That's right! 89 - 70! I am willing to bet that my friend, Beth, was watching Sunday's game from the maternity ward! LOL! She's probably Laker's #1 fan amongst my friends. I bet that if Nolan had decided to arrive during the game, she would have had it on during her labor. But he arrived Saturday afternoon just before I had to take off for Amy's birthday scrapbooking party at Memories Live On.
Introducing...
Nolan Takeshi Yoshida
This week's Monday's Fun Day was handed to me by Mort (Memories Live On) and he chose them with Laker colors in mind. "Go Lakers" and "They better win tomorrow" were his parting words to me as he handed me the items. LOL! Let's hope they can keep the Nuggets at bay for this week's Monday's Fun Day! Go Lakers!
SMOOCH! (Sugarberry)
Archival quality, acid-free pearlized accent ink
GLIMMER MIST! (Yellow Daisy)
Just post a comment here and let me know if you like shimmer and shine... and if you have ever heard of or tried these products before.
Oh yes! Last week's winner!
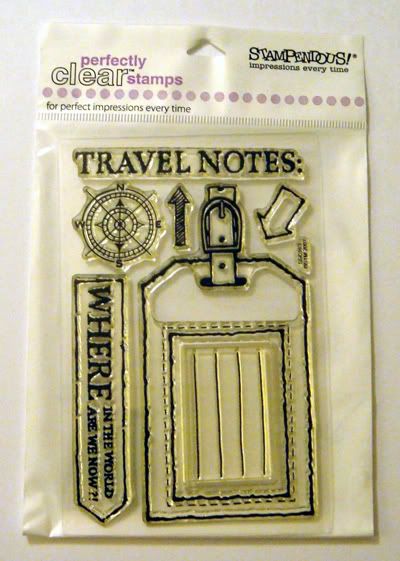
Monday's Fun Day winner of the Stampendous travel stamp set...
is...
(Random Integer Generator)Here are your random numbers:
10
Timestamp: 2009-05-19 05:14:51 UTC
That is CINDEEQ!
She wrote:
"Oh I hope that I am not too late! I LOVE that set. So cute!!We are going on a road trip up the Oregon and Washington Coast in July. Can't wait. We love it there. Cindee"
Congratulations, Cindee! Email me your mailing address and I'll get this out to you later this week! whoopsie.daisy@sbcglobal.net
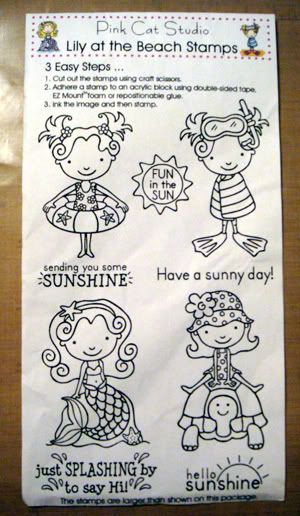
Come back tomorrow for a Copic tutorial on how to color this cute image with 7 Copic markers, for those who feel overwhelmed with "too many" copics to choose from or have a budget to mind.
Bye for now!
Monday, May 11, 2009
A Place to Bark and Meow... and a new Monday's Fun Day!
Yesterday, I gave you sneak peeks to images that I have been working on for a fundraiser for A Place to Bark and Meow. Bernie Berlin runs a no-kill animal shelter called "A Place to Bark" and she is raising funds to help finish off the in-door dog shelter. How do these cat images come into play? Well, the project is now called "A Place to Bark and Meow" because Lydia and her fur babies, along with Lisa Itatani and her fur babies, have teamed up with Memories Live On to get these images out to you to help raise $5,000+ for a place for the cats to stay. You all know how much I love cats... especially my Mia. :)
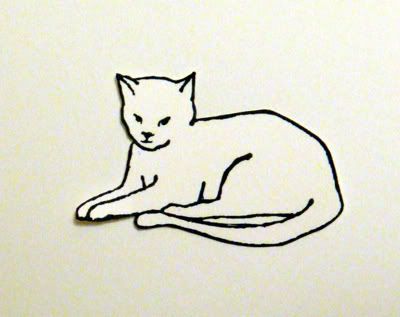
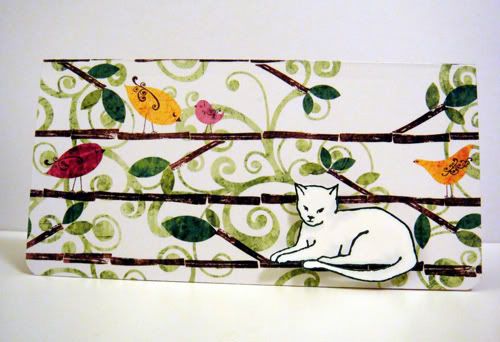
The first up is the white cat, image created by Claudine Hellmuth.
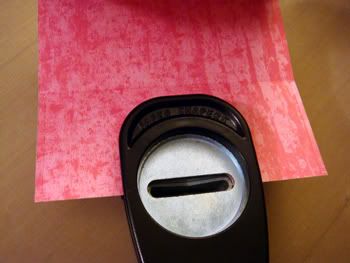
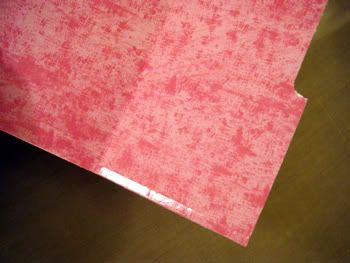
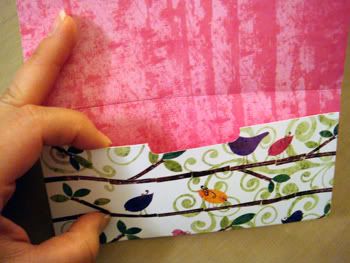
I took "Gigi Birds" paper by Glitz Design and trimmed it down to 6" x 8.5" and scored it at 3" and 6". I used the Word Window punch to create a notch on the inside (shorter panel) and added sticky strip tape to the sides to create a pocket. This is a gift certificate holder for a friend who likes colorful but simple things... no bling and ribbons for her! :)
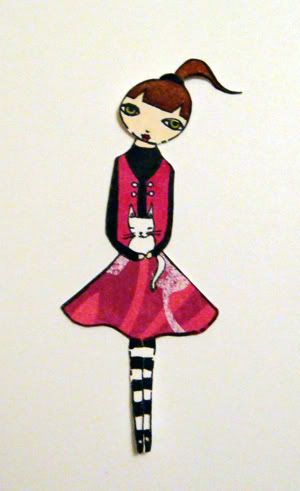
Next up is this pretty little girl holding a white kitty... image created by Suzi Blu.
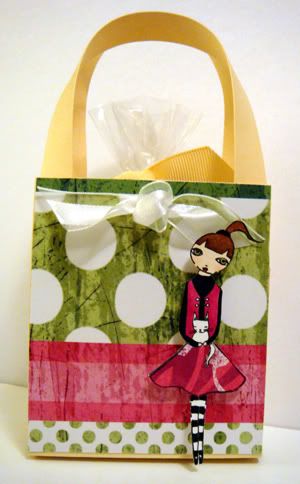
I used Copics to color her in and paper pieced her skirt with scrap of Glitz Design paper.
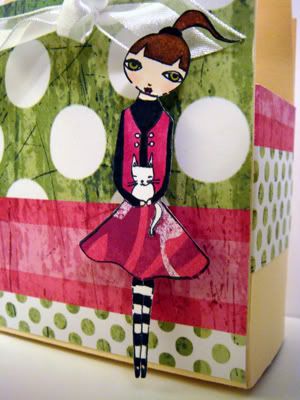
I have been making these adorable little purses made of cardstock for Mother's Day and decided to make one using more Glitz Design Paper and added her to the front of the purse.
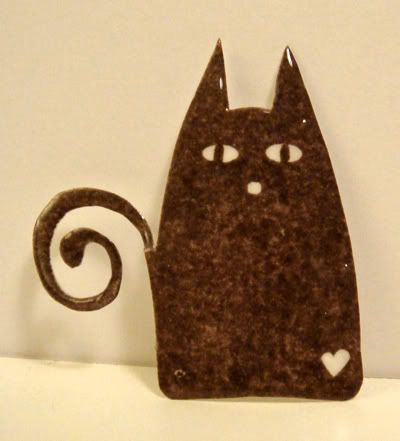
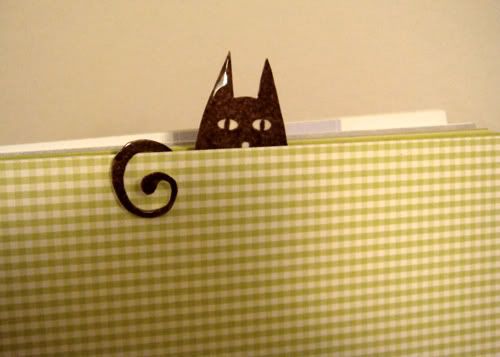
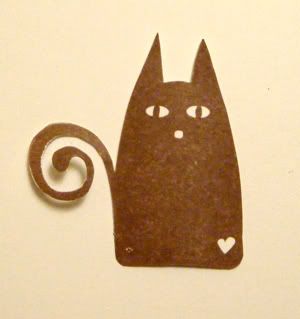
Last up is this adorable kitty, created by Lydia Fielder.
I pressed the image into my VersaMark ink pad and covered it in ultra-thick embossing powder on both sides. When I heated it up, it hardened up nicely with a pretty sheen to make the perfect bookmark!
Please join me in supporting this wonderful cause.
If you are interested in purchasing any or all of these wood mounted rubber stamps, please go to Memories Live On's online site, Scrapbooking Supplies R Us to order them. 100% of the profits will go to A Place to Bark and Meow! 100%!
I have a winner to post for the rub-ons from last week's Monday's Fun Day!
Random Integer Generator
Here are your random numbers:
3
Timestamp: 2009-05-12 06:14:05 UTC
Alicia!
Congratulations! Please email me your mailing address: whoopsie.daisy@sbcglobal.net
NEW Monday's Fun Day... courtesy of Memories Live On!
How about a clear acrylic stamp set, just in time for summer vacation?
Isn't this a terrific set?
All you have to do is post here and let me know of your travels. Do you have a dream vacation? I don't get to travel. I went to Japan once when I was 13 for the summer. I love Hawaii. I have been to New York. My dream vacation would be to go all over Europe... especially Austria and Italy.
Cheers!
Sunday, May 10, 2009
Happy Mother's Day! "A Place to Bark and Meow" sneak peek
Happy Mother's Day!
I hope that everyone had a terrific weekend celebrating their mothers and motherhood, even if in memory or thought. I know some of you have mothers who have passed on and some of you have been trying to start a family and I am thinking of you on this day as well.
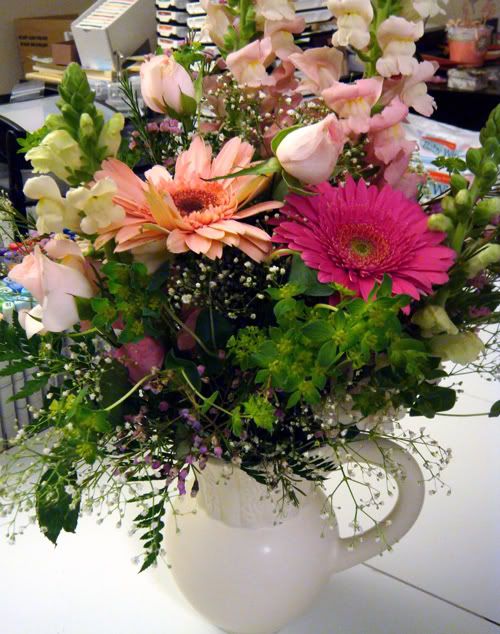
Kevin and the boys had flowers (picture up above) and cards for me! The boys had handmade cards from Kindergarten and preschool as well. As Keiji's preschool teacher, I don't get many surprises. However, I was out on Wednesday and Friday with bronchitis so I didn't get to participate in the Mother's Day preparations. Keiji gave me fingerprinted flowers in a paper flower pot. Ken had a paper purse that opened up to a handwritten note from him with his picture holding flowers. Simply adorable!
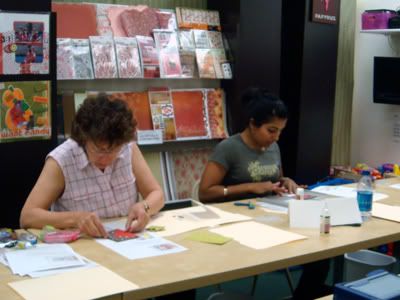
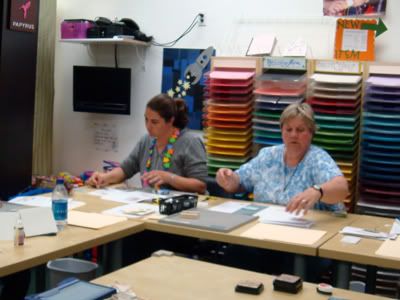
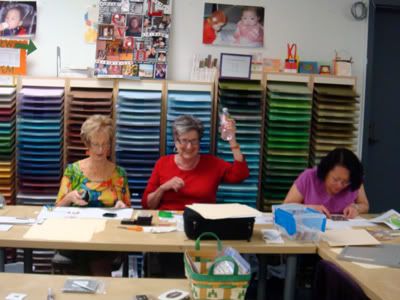
Saturday's class at Memories Live On was great fun, as always.
I took a few pictures...
No... Christine is not trying to lob the bottled water at me. LOL! It does look like it though.
It's late and I need to head off to bed.
However, I did spend a little time at the craft table tonight working on these images as a sneak peek to tomorrow's post.
Are't they darling? These images were created by Claudine Hellmuth (white cat), Lydia Fielder (brown cat) and Suzi Blu (the girl with cat), who donated their art work to help raise money for a project that is near and dear to my heart... saving animals.
Bernie Berlin is runs a no-kill animal shelter called "A Place to Bark" and she is raising funds to help finish off the in-door dog shelter. Where do these cat images come into play? Well, the project is now called "A Place to Bark and Meow" because Lydia and her fur babies, along with Lisa Itatani and her fur babies, have teamed up with Memories Live On to get these images out to you to help raise $5,000+ for a place for the cats to stay. You all know how much I love cats... especially my Mia. :)
Anyways, stay tuned for more coming tomorrow... including another Monday's Fun Day!